Home
The Home tab is the hub of ReShade's interface, where you enable, disable, and tweak the shaders you've installed.
Preset Selection
At the top of the Home tab is the Preset Selection Bar. Use this to load, save, create, and rename your presets. Presets store your shader configurations in an INI file; the default is ReShadePreset.ini. Click the dropdown to pick a preset, hit the save icon to overwrite it, or click the plus icon to make a new one.

Shader Search and Sorting
Just below the preset bar, the Shader Search field lets you quickly filter your shaders by name. To the right, sorting buttons help you bring all of the active shaders to the top of the Shader List.

Shader List
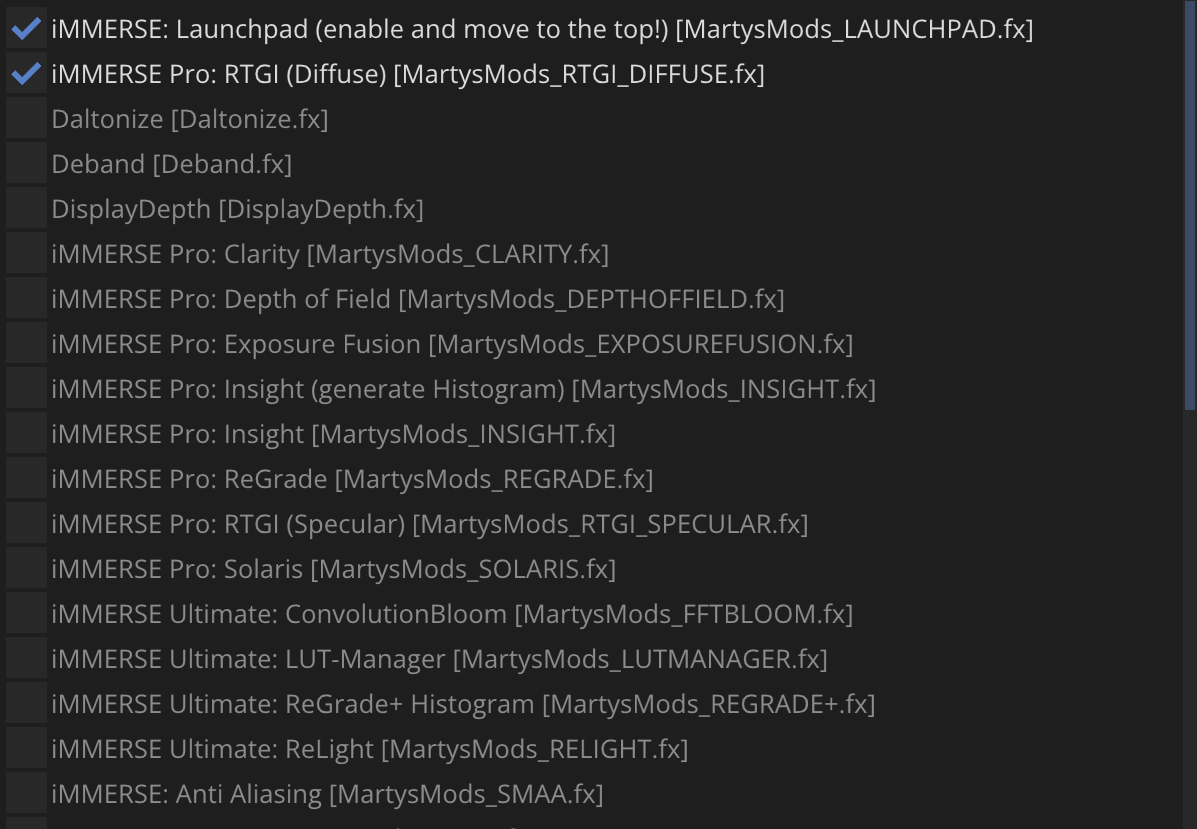
The Shader List shows every shader that ReShade detects. An empty square next to a shader means it's disabled; a checkmark means it's active. Click the box to toggle a shader on or off.
Global Preprocessor Definitions
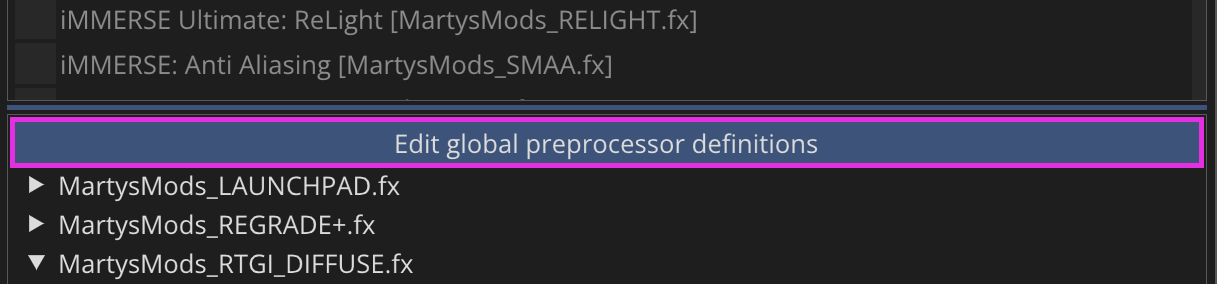
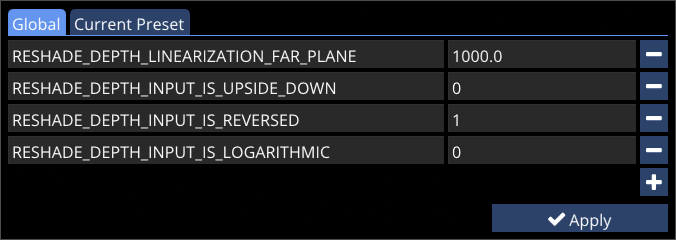
Below the shader list is the Edit Preprocessor Definitions button. Click it to open a panel where you can adjust global defines and settings that affect how shaders compile and run. Use this to enable advanced features or resolve compatibility issues.
Shader Parameters
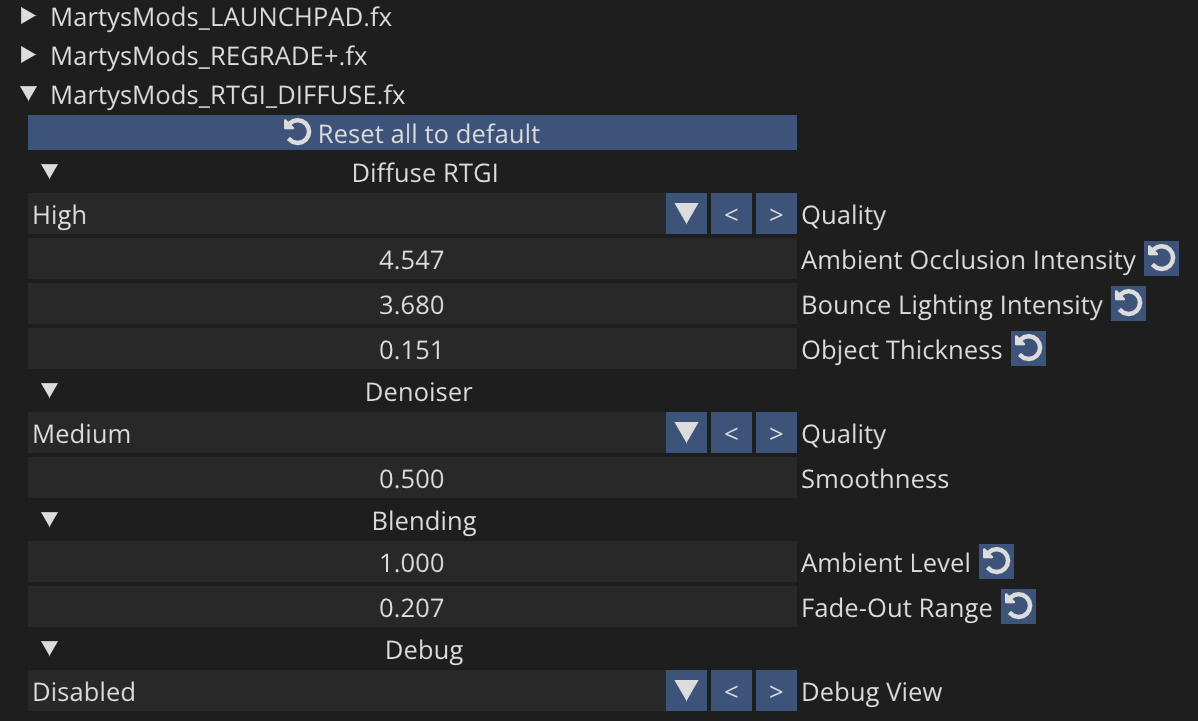
The Shader Parameters panel appears below the preprocessor definitions. When you enable a shader, its adjustable parameters show up here. Adjust these controls to tune each effect in real time and see the changes immediately in your game.
Reload and Performance Mode
When you add or remove effects, click the Reload button to recompile shaders and apply your changes. Reloading can also fix compile errors and restore shader functionality.
To the right of Reload is the Performance Mode toggle. Turning on Performance Mode skips compiling disabled shaders and applies compiler optimizations. This can yield a small performance boost, though some shaders may not work correctly with it enabled.
