ReShade Setup Tool
The ReShade Setup Tool simplifies installation and offers powerful features for downloading shaders and add-ons, making it a valuable resource for both new and experienced users.
If you require help choosing the correct version of ReShade, see our guide for downloading ReShade for details on the standard and add-on support versions.
Selecting Your Game
When you open the ReShade Setup Tool, select the game or application where you want to install ReShade. Choosing the wrong executable will prevent ReShade from injecting correctly when your game starts.
The tool displays a list of recent games and applications:
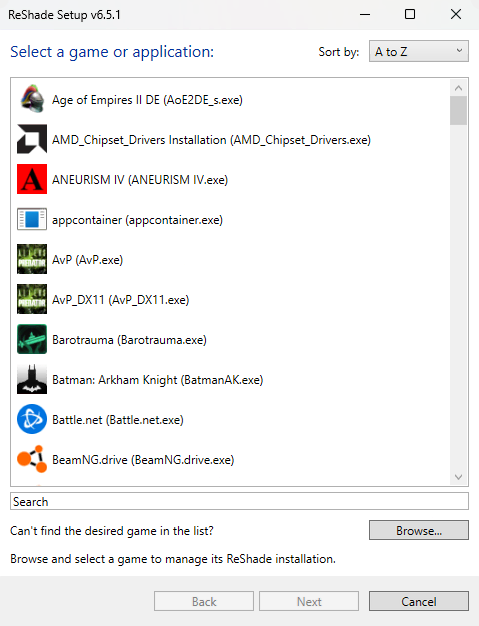
If your game is not listed, click the "Browse..." button at the bottom right. In the File Explorer window, locate your game’s executable (.exe), typically found in the game’s main installation folder.
If you’re unsure where to find the executable, refer to our guide on finding your game’s executable and directory for a step-by-step walkthrough.
Selecting the Rendering API
ReShade must know which rendering API your game uses—DirectX 9, DirectX 10/11/12, OpenGL, or Vulkan—to install correctly. Select the appropriate API in the setup tool:
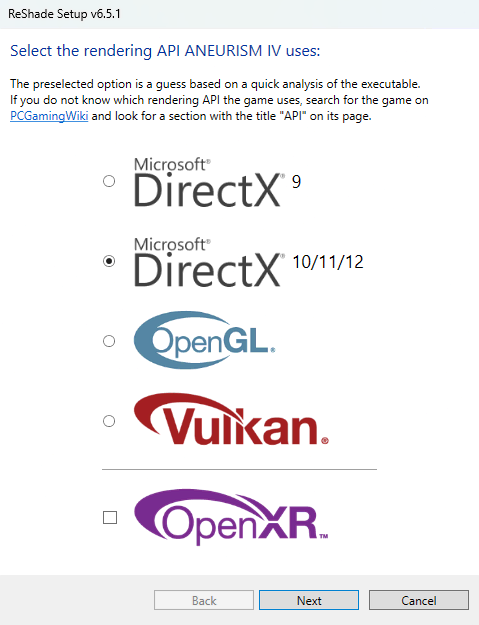
If you don’t know which API your game uses, consult PCGamingWiki for reliable information.
Installing Shaders
Shaders add visual effects like depth of field, ambient occlusion, bloom, and color grading.
In the Setup Tool, shaders are organized into repositories. Select the repositories you want and click "Next." Click any highlighted link to learn more about a repository.
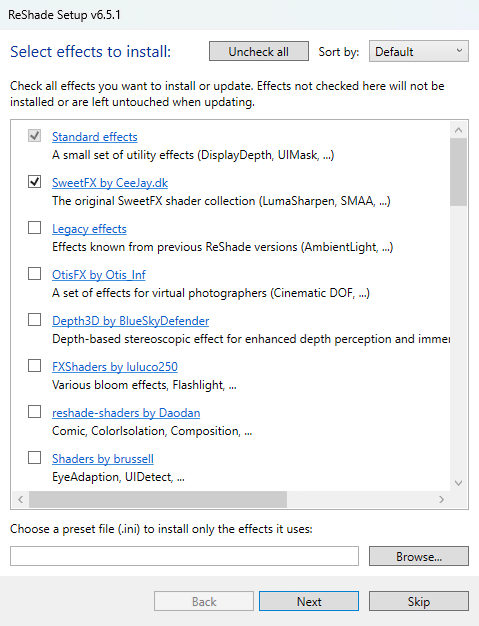
If you’re unsure where to start, popular choices include SweetFX, qUINT, and iMMERSE.
Installing Presets
Presets apply predefined .ini configurations to achieve cinematic, realistic, or stylized visuals without adjusting individual shaders. To install a preset, click "Browse..." on the shader installation screen and select your .ini file. The Setup Tool will then install all required shaders automatically.
Installing Add-ons (Add-on Support Only)
Add-ons extend ReShade’s capabilities via the Add-on API, offering advanced or experimental features—such as custom input controls or compatibility enhancements:
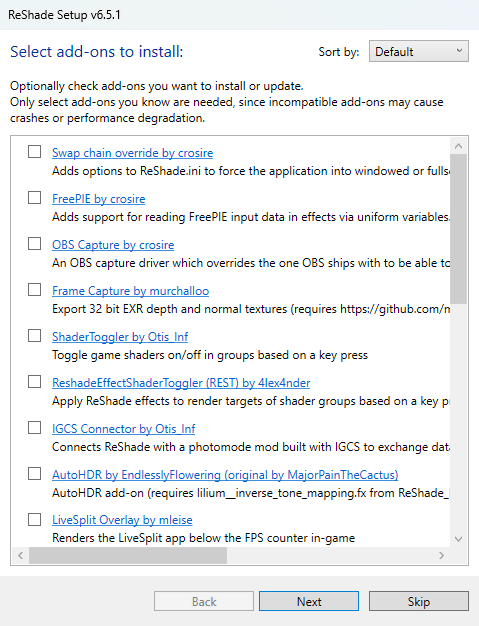
Review each add-on’s description before enabling it. If an add-on causes issues, you can disable or remove it later in the ReShade settings.
Finishing Up
After installation completes, click the "Finish" button. Launch your game and look for the “ReShade is now installed successfully” banner:

Press the default overlay key (usually "Home") to open the ReShade interface, where you can customize shaders, load presets, and adjust settings in real time. Enjoy exploring ReShade’s possibilities!