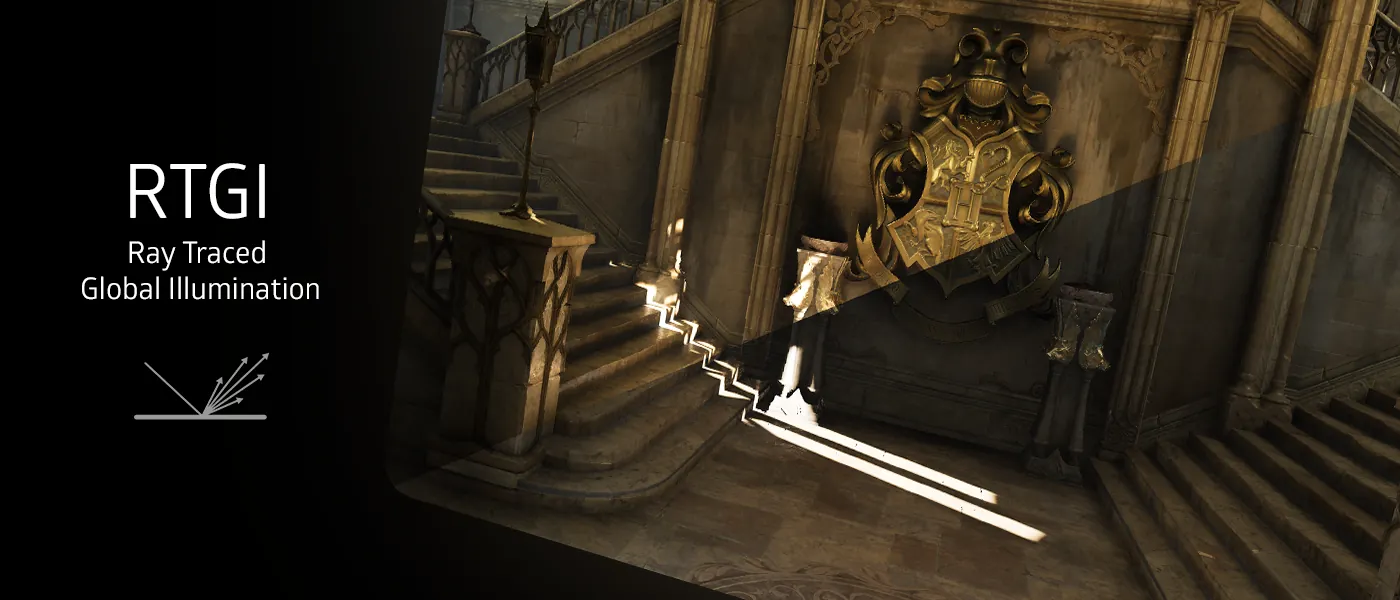
iMMERSE Pro: RTGI is a state-of-the-art ray traced global illumination shader that brings realistic lighting to your games. By using advanced ray tracing techniques, RTGI physically simulates how light interacts with objects in the environment, enhancing surface details and providing accurate screen-space bounce lighting through global illumination and ambient occlusion.
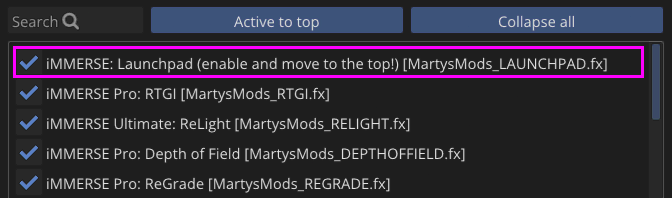
Launchpad is REQUIRED to be at the top of the shader load order for RTGI to function properly. This dependency ensures proper depth buffer processing and normal vector generation.
Configuration:
Z-Thickness Setup
The first step in configuring RTGI is setting the Z-Thickness parameter. RTGI can only directly observe surfaces currently facing the camera, so it must estimate how far objects extend on their occluded sides to create seamless lighting effects. Z-Thickness adjusts this depth bias, with the default value set to 0.250.
The optimal Z-Thickness value varies significantly between games due to differences in object geometry, world scale, and depth buffer characteristics. Games with thin objects (like foliage or architectural details) typically require lower values, while games with thick, solid objects may benefit from higher values.
With the "Diffuse RTGI" debug view enabled, adjust the Z-Thickness parameter while carefully observing changes in shadows and ambient occlusion. Be cautious of overshooting the optimal value:
- Too High: Causes over-occlusion, haloing artifacts, and unrealistic shadowing
- Too Low: Results in insufficient occlusion, leaving areas without proper depth definition
Intensity Configuration
Once Z-Thickness is properly configured, the next step is setting the Ambient Occlusion and Bounce Lighting intensities. For optimal results, disable the "Diffuse RTGI" debug view and set "Ambient Light" to 1.00 to see how RTGI blends with the complete scene.
These intensity values are largely based on personal preference and artistic intent, but a fundamental rule is that no propagated lighting should exceed the brightness of the original light source.
Bounce Lighting Intensity controls the strength of indirect lighting produced by RTGI, simulating how light bounces off surfaces in the environment. This parameter affects the realism of light propagation and should be balanced to achieve natural-looking illumination while avoiding overexposed or unnaturally dim areas.
Ambient Occlusion Intensity affects the shadowing between nearby surfaces, creating depth and dimension in the scene. This parameter should be tuned to achieve a balance between:
- Too Low: Results in flat, depthless scenes lacking visual interest
- Too High: Creates harsh, unrealistic shadows that obscure detail
- Optimal: Provides subtle contact shadows that enhance depth without overpowering base lighting
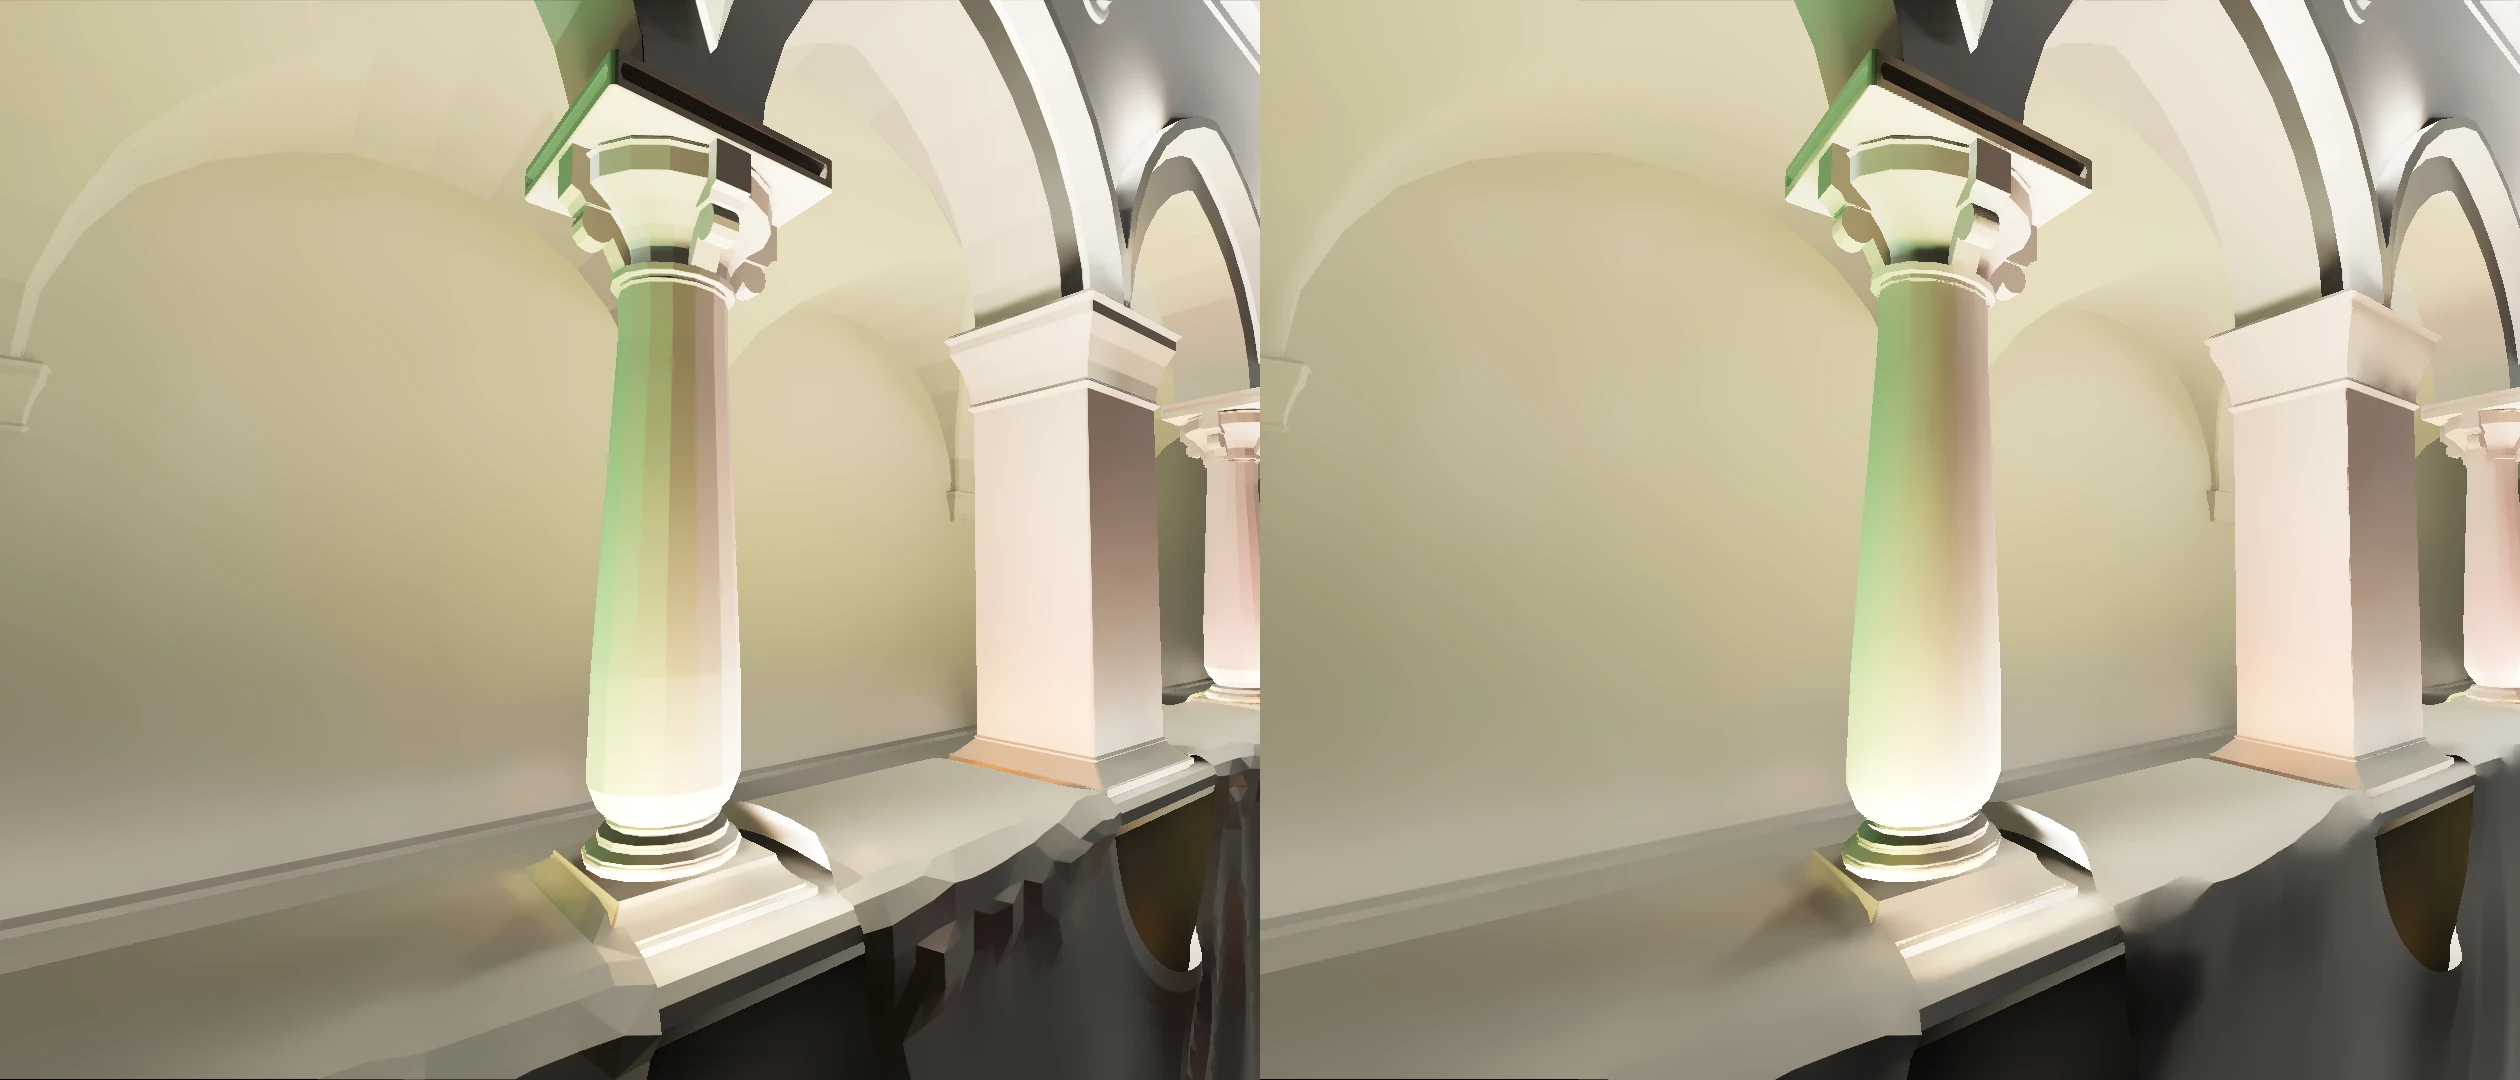
Smoothed and Textured Normals
The Smoothed Normals and Textured Normals options, available through the iMMERSE Launchpad shader, help correct common visual issues that arise when using ReShade's generic depth buffer. These features address overly polygonal or blocky geometry by providing smoother surfaces with enhanced detail and depth.
Smoothed Normals
Smoothed Normals reduce the appearance of sharp, low-poly edges by averaging surface normals across adjacent geometry. This results in softer transitions and more natural lighting behavior, particularly beneficial for games with geometric limitations or stylized art directions.
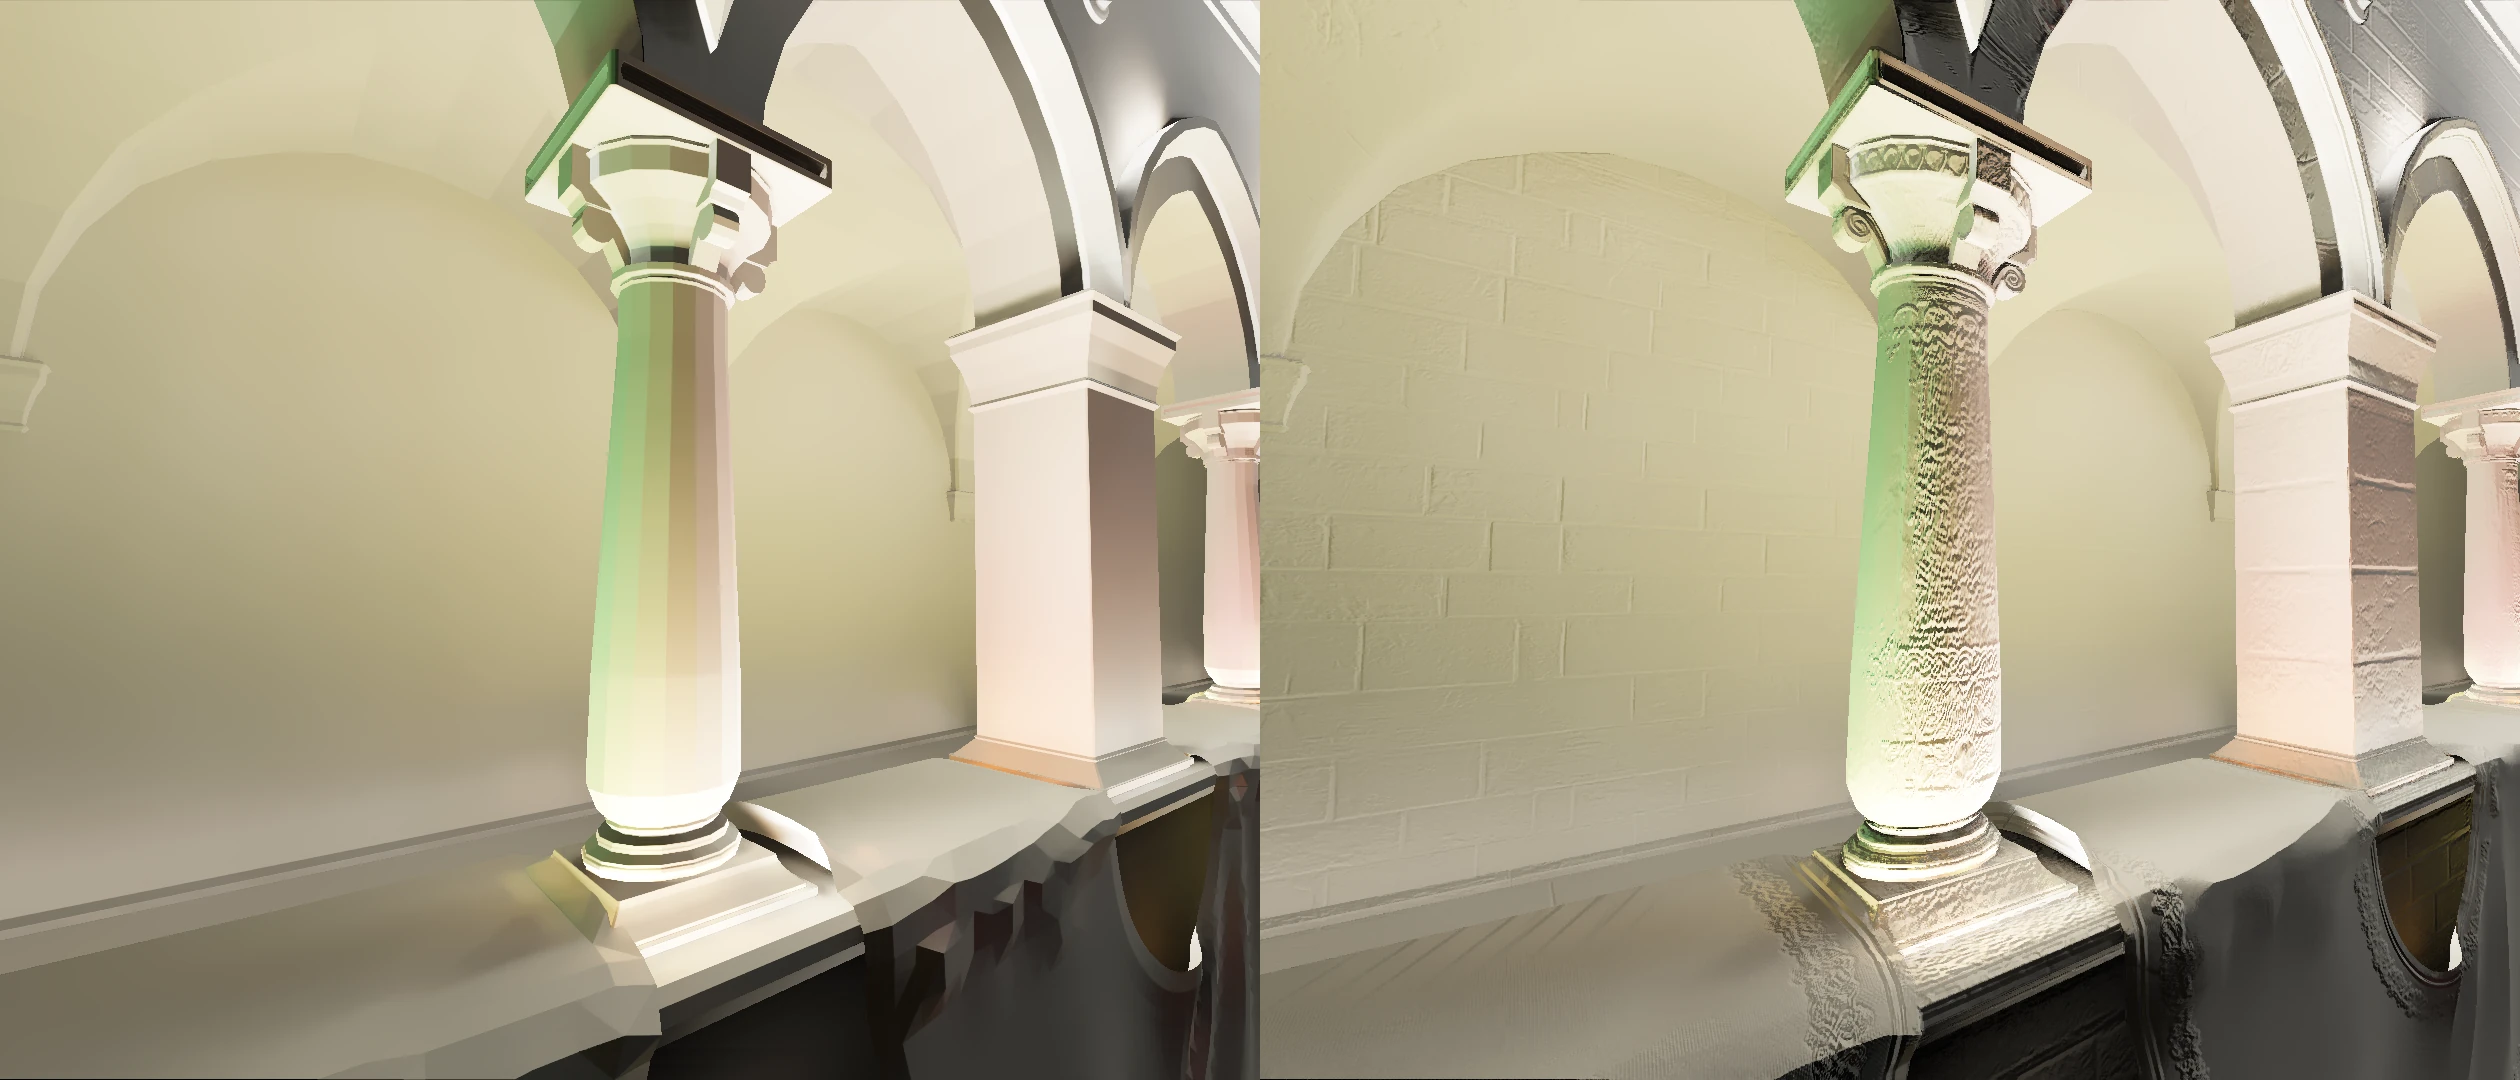
Textured Normals
Textured Normals add fine surface detail by using the game's texture information to generate additional geometric relief for RTGI calculations. This creates the illusion of more complex surfaces, improving light interaction and visual depth without requiring access to the game's original normal maps.
Fadeout Configuration
The Fadeout setting controls the maximum distance RTGI's ambient occlusion and bounce lighting can extend into the scene. This parameter is crucial for:
- Minimizing Visual Artifacts: Prevents fog bleeding and unwanted lighting interactions in distant areas
- Performance Optimization: Reduces computational overhead for distant objects
- Atmospheric Consistency: Ensures RTGI lighting doesn't interfere with fog or atmospheric effects
By carefully adjusting the Fadeout setting, you can achieve a balance where most of your scene benefits from RTGI lighting while maintaining realistic atmospheric conditions.
DLSS/FSR/TAAU Compatibility
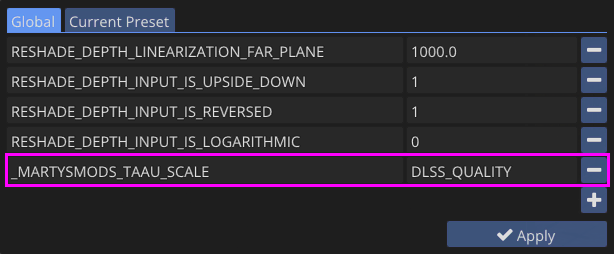
_MARTYSMODS_TAAU_SCALE is a global preprocessor definition that must be manually configured to address depth buffer jitter introduced by upscaling technologies. This preprocessor is essential when using DLSS, FSR, or TAAU to ensure proper depth buffer alignment and prevent visual artifacts.
Critical: The beginning underscore in _MARTYSMODS_TAAU_SCALE is mandatory. Without it, TAAU scaling compatibility will not function properly.
| Scaling Mode | DLSS | FSR |
|---|---|---|
| AA / Native | 1.0 | 1.0 |
| Quality | DLSS_QUALITY | FSR_QUALITY |
| Balanced | DLSS_BALANCED | FSR_BALANCED |
| Performance | DLSS_PERFORMANCE | FSR_PERFORMANCE |
| Ultra Performance | DLSS_ULTRA_PERFORMANCE | FSR_ULTRA_PERFORMANCE |
Debug and Analysis:
Debug View Modes
RTGI provides several debug visualization modes to assist with parameter tuning and understanding the shader's behavior:
- Disabled: Standard RTGI output with all effects applied
- Diffuse RTGI: Shows only the diffuse lighting calculations, useful for Z-Thickness adjustment
- Specular RTGI: Displays only the specular lighting components for reflection analysis
- Validation Layer: Comprehensive debug output showing Depth, Diffuse, Normal Vectors, Optical Flow, and Albedo data