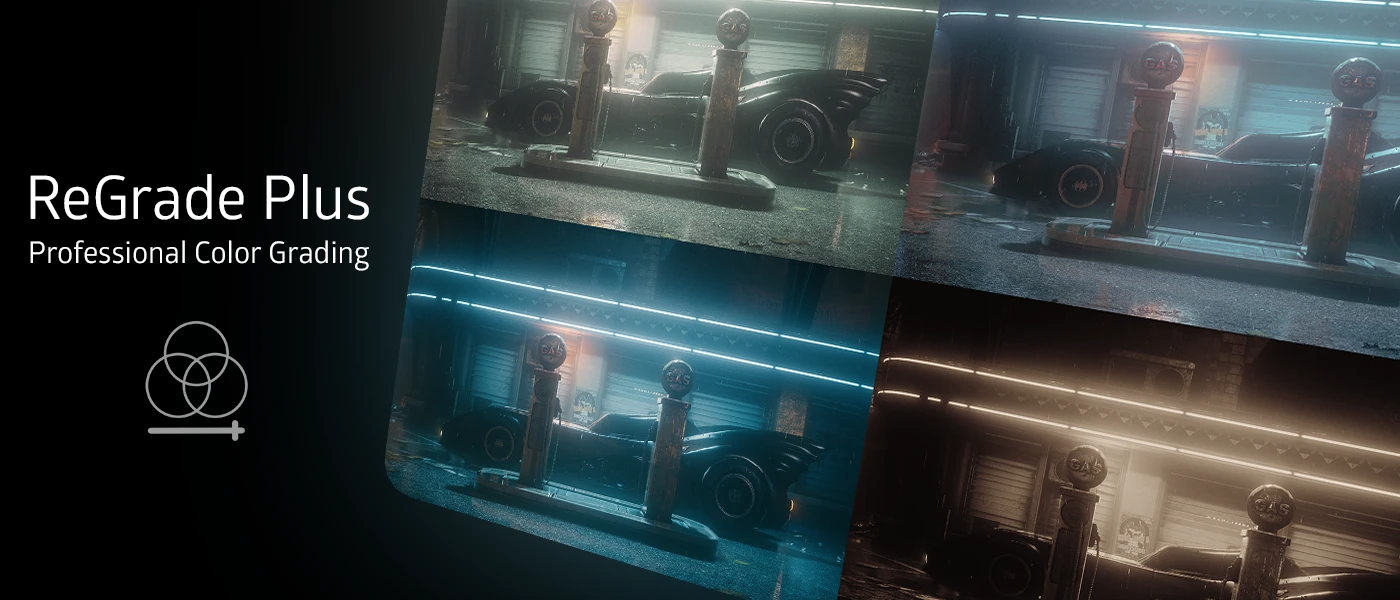
iMMERSE Ultimate: ReGrade + is a commercial-level color-correction suite for ReShade, inspired by industry-standard tools. It eliminates the need to leave the game for detailed adjustments, allowing real-time color correction with an intuitive UI. This makes it a seamless experience for users, especially those knowledgeable in Color Theory, Photography, and Image Post-Processing.
ReGrade + requires the Addon Support build of ReShade to function properly, otherwise the screen will be black when the shader is enabled.
Setup and Configuration
Enabling ReGrade +
ReGrade + requires both the addon and the shader to be active at the same time. Enabling only the shader in the ReShade shader list will not activate it. Once both are running, the ReGrade + addon window will open inside ReShade. You can pop it out into a floating window to keep it accessible while adjusting other effects. If either component is inactive, the ReGrade + window will indicate which one is missing:

Analysis Tools
Scopes
The "Scopes" section provides graphical representations of various color statistics and balances. By default, it shows the "Histogram RGB," which displays exposure and color values of the current scene.
Available Scope Types:
-
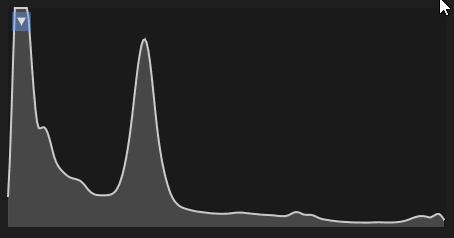
Histogram Y: Displays luminance levels, showing brightness distribution across the scene
-
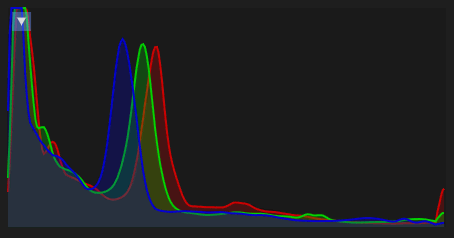
Histogram RGB: Shows color levels separated into Red, Green, and Blue channels
-
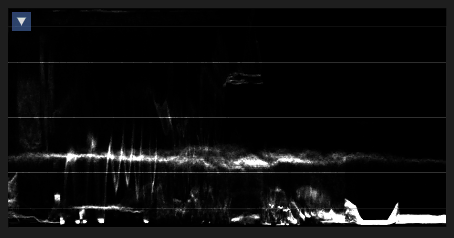
Waveform Y: Visualizes luminance in waveform format for detailed brightness analysis
-
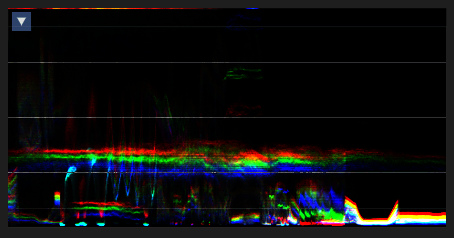
Waveform RGB: Displays RGB channels independently in waveform format
-
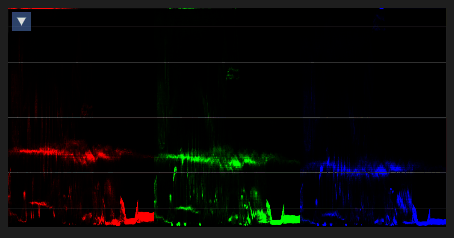
Waveform RGB Parade: Separates color channels in parade format for individual analysis
-
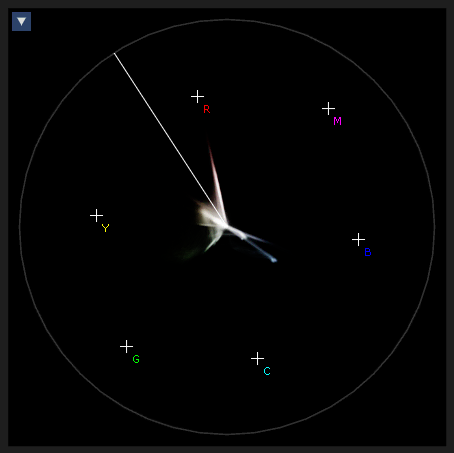
Vectorscope: Shows chroma distribution for color saturation and hue analysis
-
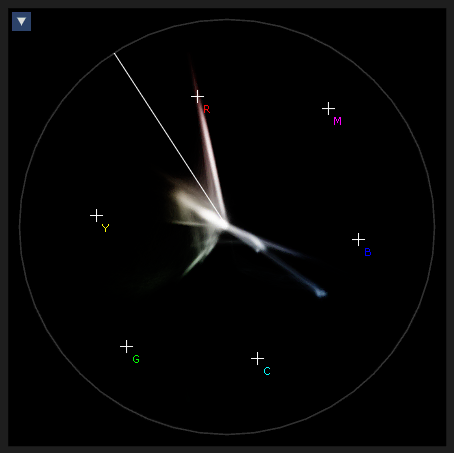
Vectorscope 2x Zoom: Zoomed-in view for finer chroma data analysis
Color Adjustment Tools
Tweaks
The "Tweaks" section offers quick adjustments for common image properties without the depth of the curve or color correction tools.
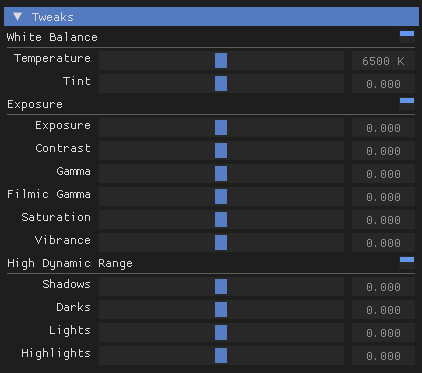
White Balance:
- Temperature: Adjusts color temperature (warm/cool tones)
- Tint: Controls color tint adjustments
Exposure:
- Exposure: Controls overall image brightness
- Contrast: Adjusts image contrast levels
- Gamma: Adjusts the midtone brightness without affecting the darkest or brightest points
- Filmic Gamma: Similar to Gamma but applies a filmic response curve, lifting shadows and softening highlights
- Saturation: Uniformly adjusts the intensity of all colors in the image
- Vibrance: Selectively boosts the saturation of less-saturated colors while leaving already-saturated colors mostly unchanged
High Dynamic Range:
- Shadows: Adjusts the brightness of dark areas in the image
- Darks: Controls the very darkest tones, closer to pure black
- Lights: Adjusts the brightness of lighter mid-tones and bright areas
- Highlights: Controls the brightness of the very brightest areas in the image
Tone Curves
The Tone Curves tool lets you remap tonal values across the image by placing and dragging control points along a curve. The horizontal axis represents the input value and the vertical axis represents the output, giving you precise control over how bright or dark any tonal range appears.
Default Mode: Edits the RGB composite curve, affecting all three color channels simultaneously Per-Channel Mode: Click a colored square to isolate and edit individual Red, Green, or Blue channels
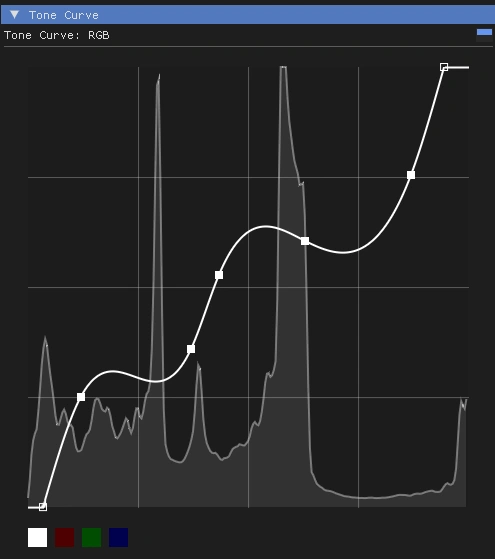
Controls:
- Click anywhere on the curve to create a new control point
- Click and drag a point to adjust the curve
- Double-click a point to remove it
Color Correction
Split Toning: Split Toning applies a color tint independently to the Shadows, Midtones, and Highlights of the image. This is useful for adding stylized color casts, such as warm highlights and cool shadows, without affecting the entire image uniformly.
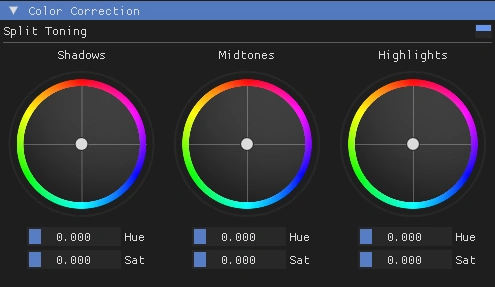
Controls:
- Click and drag the center point of a wheel to select a hue and set its intensity
- Use the gauges alongside each wheel for fine-tuning
Color Wheel: The Color Wheel lets you adjust the hue and saturation of specific color ranges: Red, Orange, Yellow, Green, Aqua, Purple, and Magenta. This allows targeted corrections, such as shifting foliage to a more natural green or pulling back an oversaturated sky.
- Hue vs Luma: Shifts the hue of a color range based on its luminance value
- Hue vs Saturation: Shifts the hue of a color range based on its saturation level
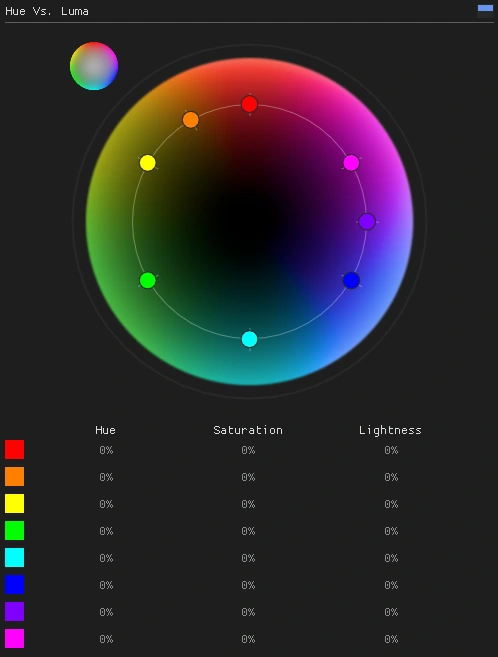
Controls:
- Click and drag a color segment to adjust its hue and saturation
- Hold Shift for linear movement to avoid accidental hue changes
- Right-click to reset individual color values
Troubleshooting
Settings Not Saving to Preset
ReGrade + saves its settings to ReShade.ini rather than your active preset file, even when autosave is enabled in ReShade. To save your changes to the correct preset file, you must manually click the Save button in the ReShade UI after making adjustments.
Black Screen When Enabling ReGrade +
A black screen when enabling ReGrade + has two common causes:
- Addon not loaded: ReGrade + requires the Addon Support build of ReShade. Ensure you have installed the correct build and that the ReGrade + addon is listed and enabled under the Add-ons tab in ReShade.
- Outdated addon: An old version of the ReGrade + addon may not be compatible with the current shader. Update to the latest version of iMMERSE Ultimate to resolve this.