Parallax Depth of Field
iMMERSE Ultimate: Parallax Depth of Field produces depth-of-field blur by computing parallax information through camera rotation and positional shifts across multiple frames. This method yields physically accurate focal plane separation and bokeh characteristics.
Parallax DoF requires the IGCS Camera Tool to function. The IGCS Camera Tool must be purchased through Otis Inf's Patreon and activated for the Parallax DoF GUI to appear in ReShade.
Activating the GUI
When IGCS's Camera Mode is enabled along with the Parallax DoF shader, the GUI controls will open in a window detached from the main ReShade interface.
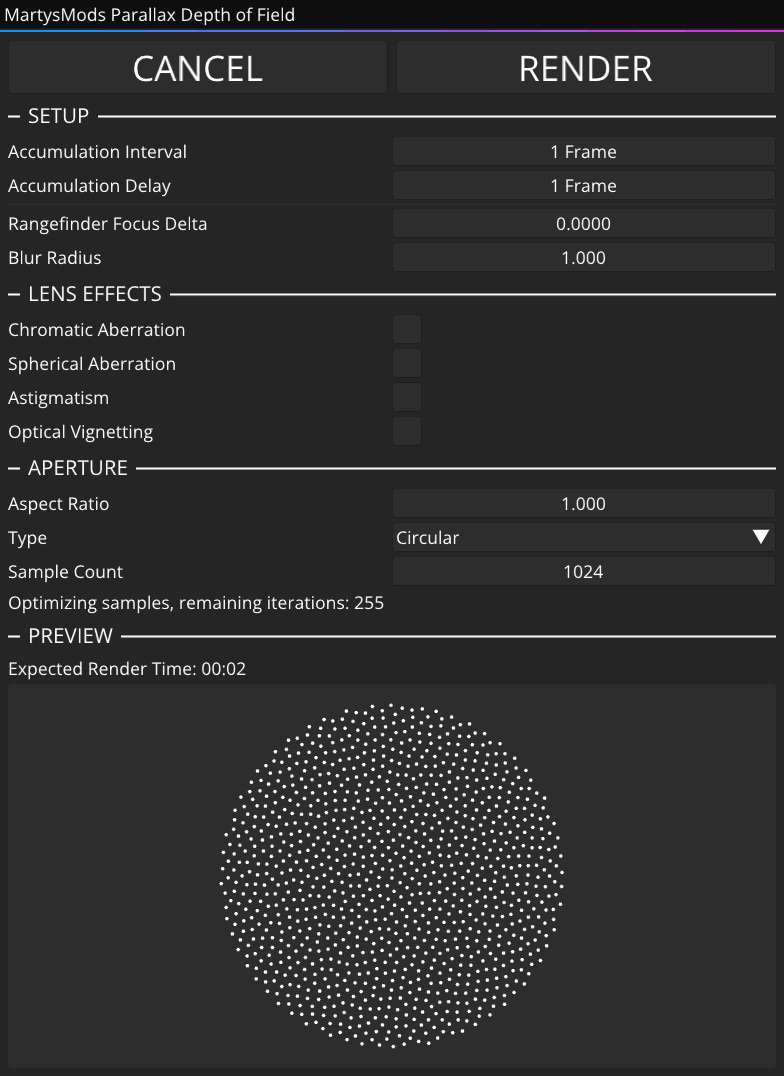
Clicking Start Session opens the session control panel and displays a transparently shifted overlay used to calculate the focal plane position.
Setting a Focal Point
Since Parallax DoF differs in its technique from the standard depth-based blur, each shot needs to have its focal point configured. We'll want to make sure that the game world is paused through IGCS, and we can start to configure the focal point by adjusting the Blur Radius to a large enough degree to see a substantial offset in the background.
Then, by using our Rangefinder Focus Delta, we can tune in our focal point while making sure to check that the target that we want to be completely in focus is as clear as it can be (you can use iMMERSE Pro: Insight's magnifying glass to do so).
Accumulation Interval & Delay
The addon needs to synchronize camera positions and the corresponding rendered frames, as the game plans several frames ahead of what is currently displayed. This delay between when the camera position is set and when a GPU frame is actually being rendered from this position needs to be compensated for to properly blend images.
If this is mismatched, assumed camera positions per frame will not line up with the game's actual state. This results in the frames not properly stacking and everything being blurry. It is highly recommended to disable V-Sync as this makes the synchronization extremely irregular.
The process to find the correct value can be summarized as such:
-
Start with Accumulation Delay and Interval at 1 frame, then click "RENDER". If the image is completely blurry irrespective of what you focused on, abort. Then bump the Accumulation Delay by one and repeat until you find a stable or mostly stable image. There will only be ONE value that is correct.
-
If the game properly renders, you are all set.
-
Should the render be imperfect with some ghost images, it means that the game's rendering is not always ahead by a constant delay. This can be compensated for by not firing a new camera position every single frame. For that, increase the Accumulation Interval by 1 frame. This will now move to a new camera position every second frame, giving the rendering process one frame of sync error tolerance. Now try again to find an Accumulation Delay that produces a clean image. If that still yields no perfect results, keep increasing the Interval by 1 frame and then search for a good delay value. Eventually this process will yield a stable combination, it just depends on the game.
-
Note that for an Interval of 1 frame, there is only one Delay value that is in sync. For an Interval of 2 frames, there are 2 Delays that are in sync and so on. So if for Interval of 1 frame a Delay of 4 frames worked, then for an Interval of 3 frames, Delay frames 4, 5 and 6 will work with Delay set to 4 frames, being blended as early, and Delay set to 6 frames, meaning being blended as late as possible.
-
If you're having issues with finding a proper Accumluation Delay and Interval, make sure that V-Sync is disabled, your framerate is not capped, and NVIDIA Reflex is disabled in-game.
Lens Effects
Chromatic Aberration
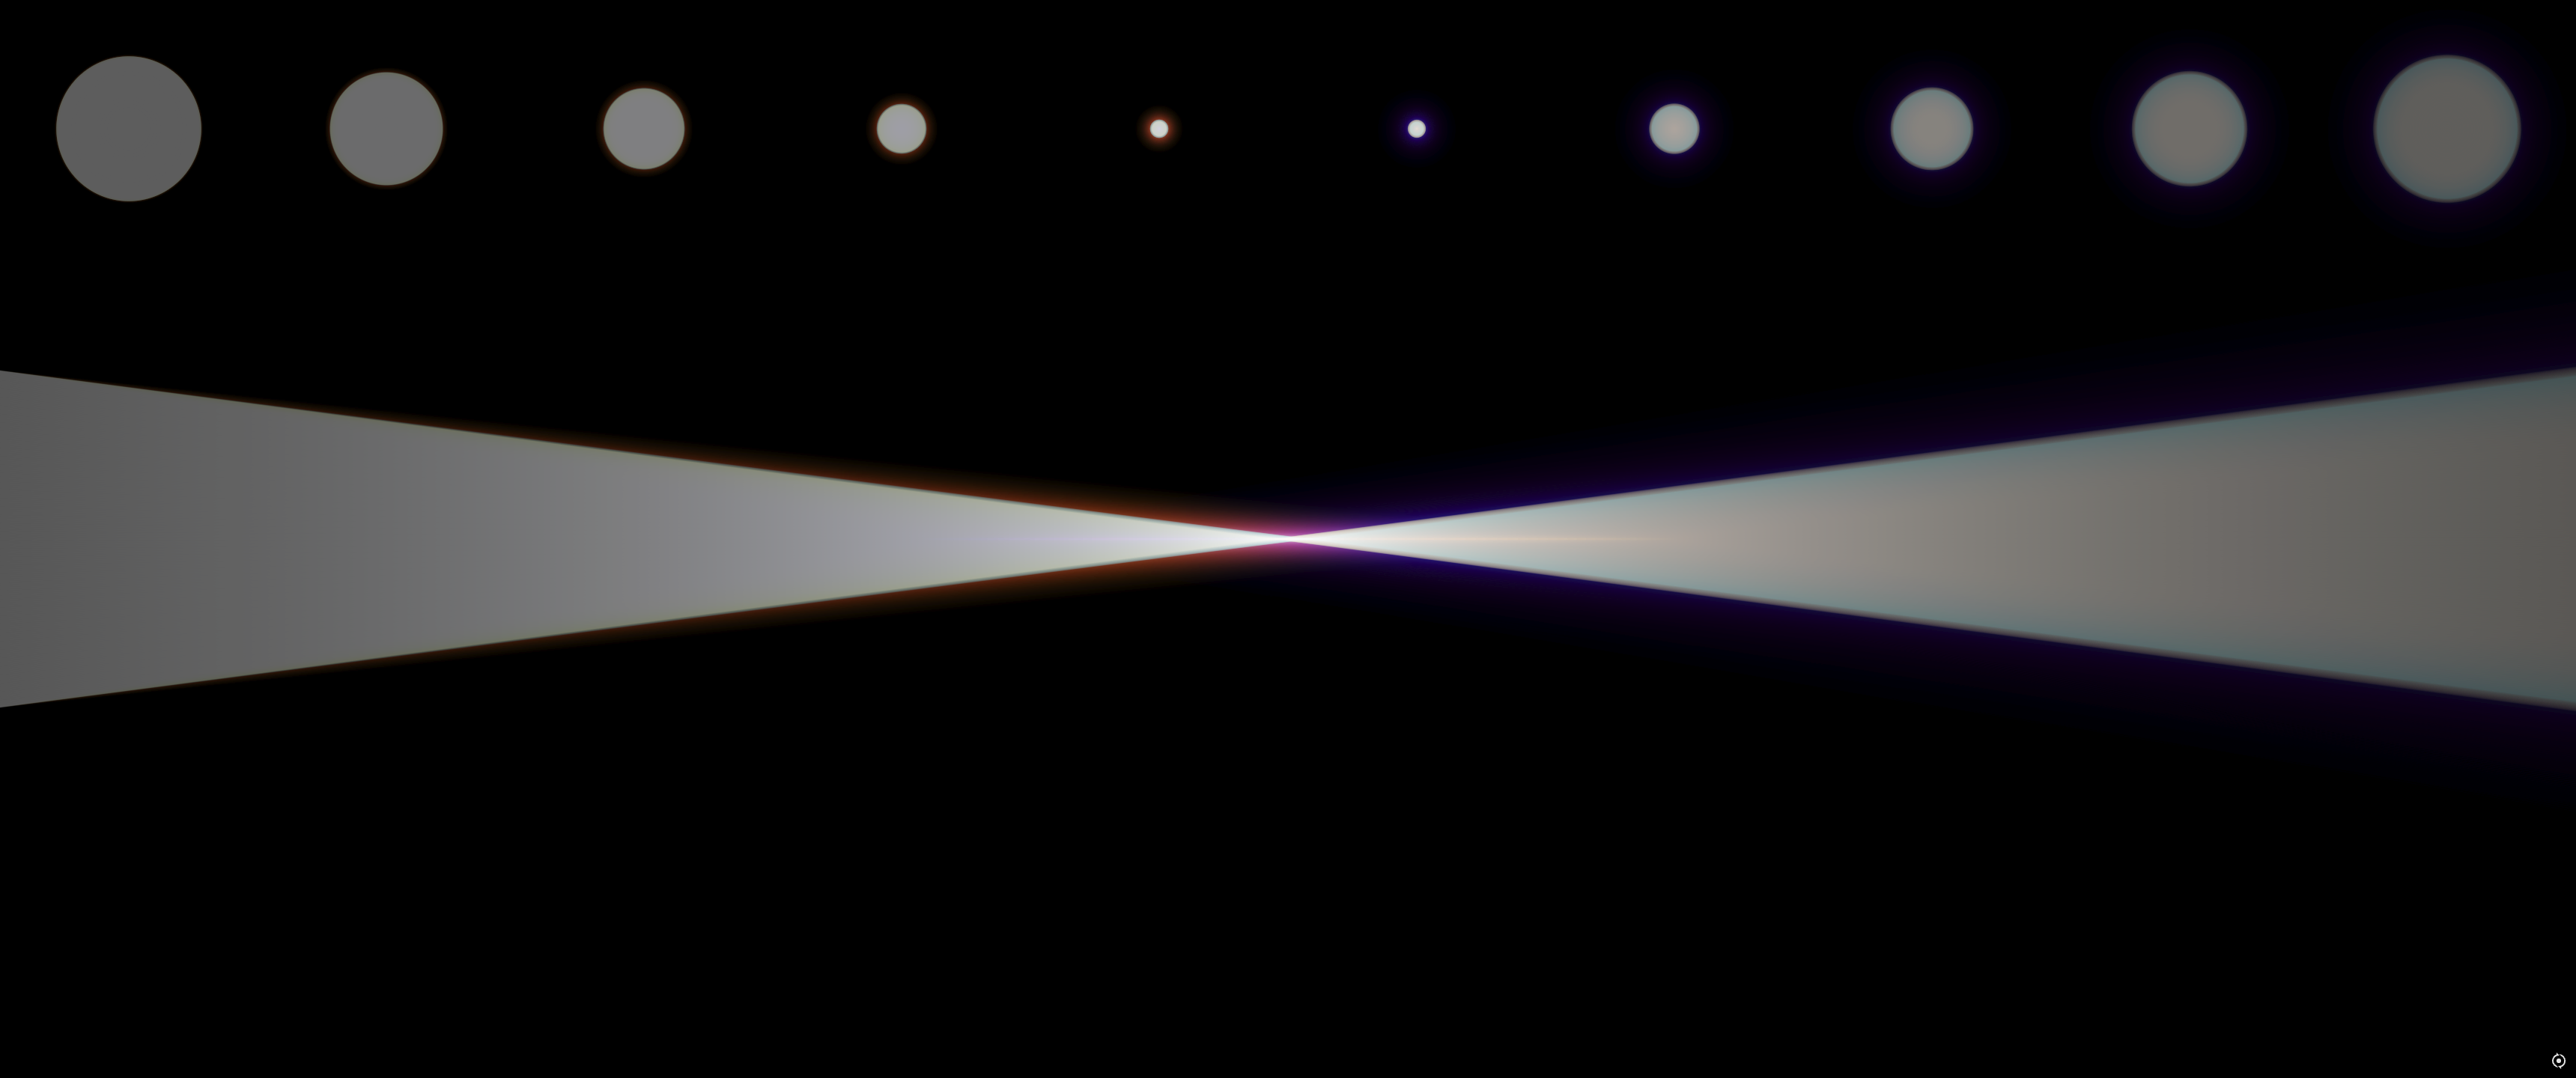
Chromatic aberration comes from refraction: lenses have different focal distances per wavelength, so if one color (e.g. red) is sharp at the focal plane, another (e.g. blue) can be slightly out of focus. That difference also means different blur radii per wavelength, which shows up as color fringing around bokeh discs. The addon simulates this with a physically based model of real lens designs.
Real camera lenses use multiple elements that partly cancel each other’s chromatic errors. A single element spreads the full spectrum (red through blue). A doublet folds the spectrum so red and blue meet, giving magenta–green fringing. An apochromat uses three elements and a three-way fold, so the fringe pattern is more complex and subdued.
Select a Lens System to set the type of aberration and blur character, then use the strength control for intensity. Each option matches a different element count and correction:
- Chromat (Single) - Single-element behavior: full spectrum (red → blue) fringing. Strongest dispersion; most pronounced at high strengths. Use for vintage or deliberately uncorrected looks.
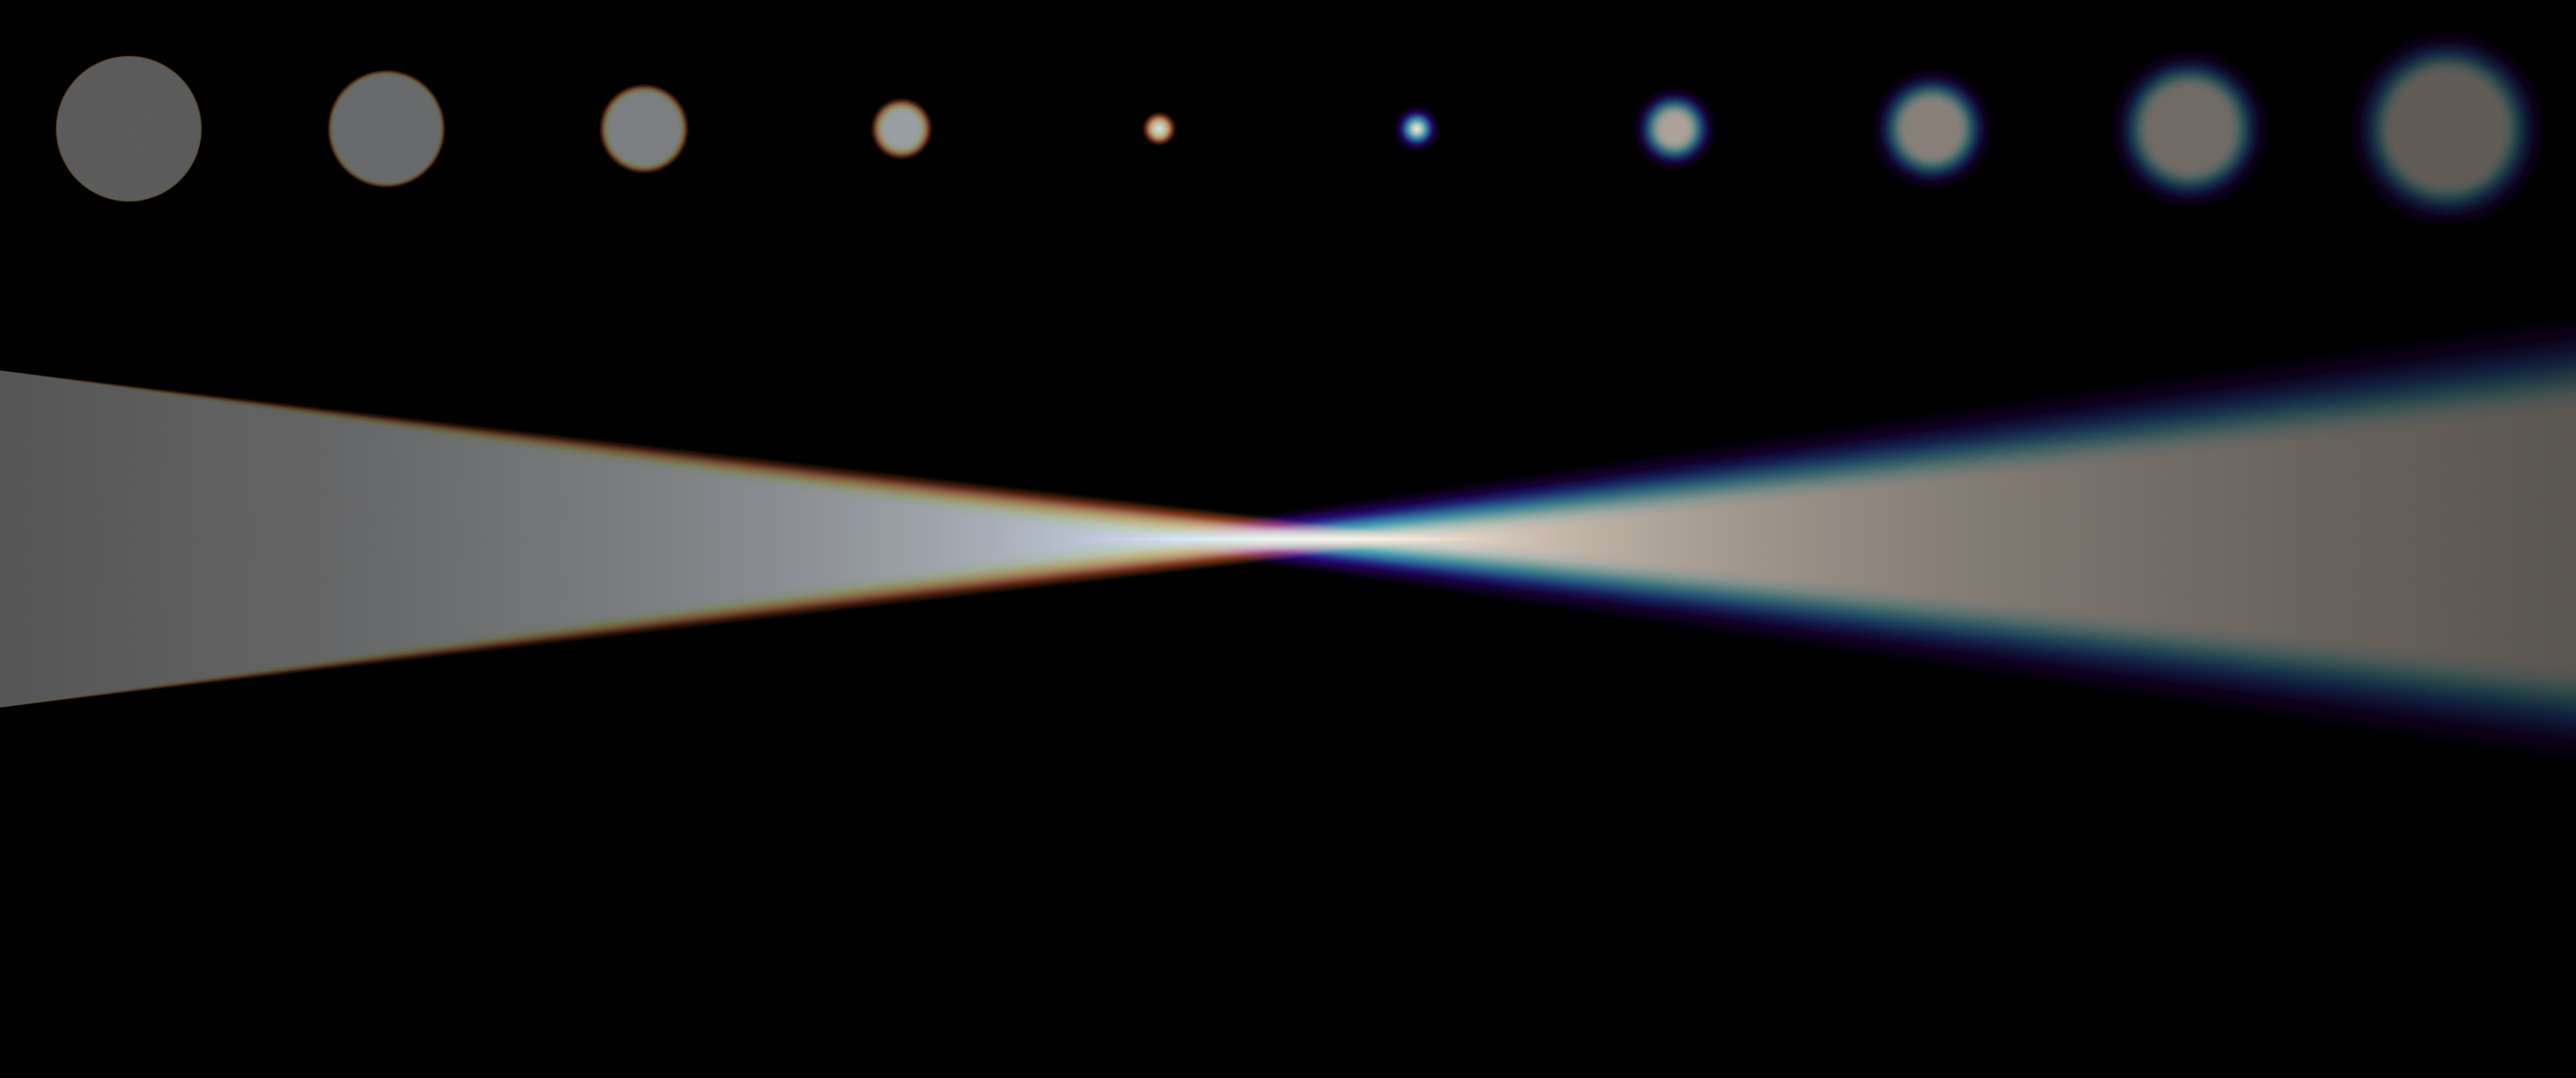
- Achromat (Double) - Two-element achromatic correction. Spectrum folds so red and blue meet; fringing appears as magenta–green rather than full spectrum. Milder and more controlled than a single element. A practical default for subtle lens character.
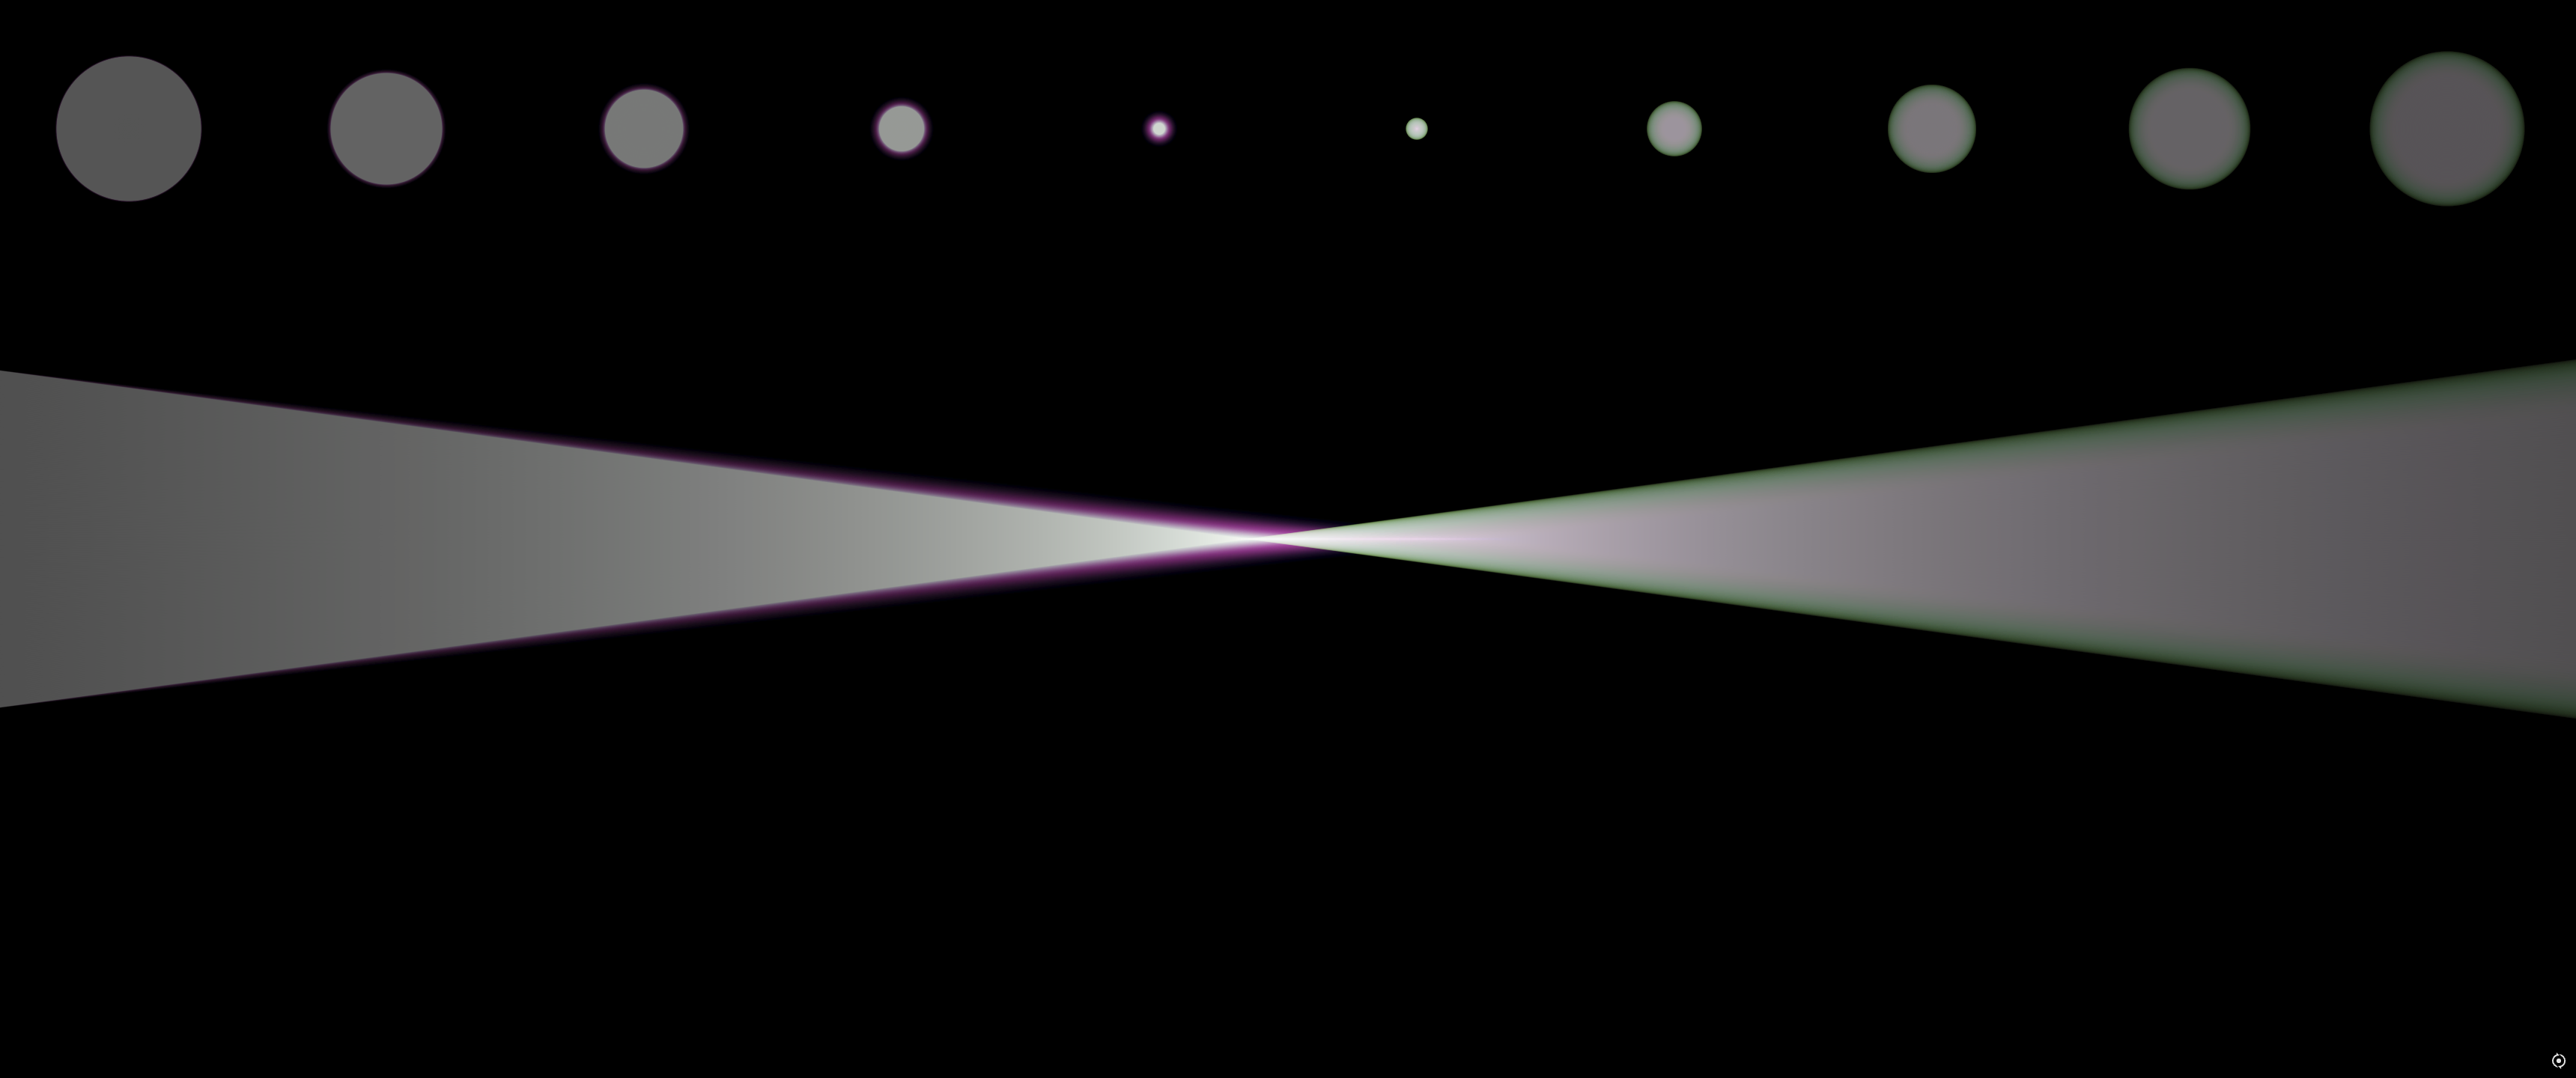
- Apochromat (Triplet) - Three-element apochromatic correction. Spectrum folds three ways, so the fringe is more complex and minimal. The most neutral, modern-lens option. Use when you want a hint of lens character without obvious color separation.
Each option also affects out-of-focus blur to match the chosen lens type. Choose the lens system first, then adjust the strength parameter to taste.
Spherical Aberration
Spherical aberration occurs when light rays passing through the edges of a lens focus at a different point than those passing through the center, producing a soft focus character and affecting bokeh appearance. The addon simulates this to match real lens behavior.
-
Curve - Controls the shape of the aberration falloff from the center of the lens outward. Different curve values alter how the blur character transitions across the frame, matching single-element, doublet, or other lens configurations.
-
Strength - Sets the intensity of the spherical aberration effect. Higher values produce more pronounced soft-focus and bokeh character; lower values yield a cleaner, more corrected look.
Astigmatism
Astigmatism causes the lens to focus differently along different axes (e.g., radial vs. tangential), which distorts bokeh shapes and can create elongated or directional blur. The addon models this for physically accurate lens character.
- Strength - Controls how strong the astigmatic effect is. Higher values produce more visible elongation or directional blur in out-of-focus areas; set to zero to disable.
Optical Vignetting
Optical vignetting darkens the corners of the frame as less light reaches the sensor at the edges, which is a characteristic of real lens systems. The addon provides controls to match this behavior.
-
Radius Scale - Controls how much of the frame is affected by the vignette. Larger values extend the effect toward the center; smaller values confine darkening to the corners.
-
Onset - Controls how abruptly the vignette transitions from the bright center to the darkened edges. Higher values create a sharper falloff; lower values produce a gentler, more gradual darkening.
-
Strength - Sets the intensity of corner darkening. Higher values make the vignette darker and more visible; lower values keep it subtle.
-
Disable Corner Darkening - When enabled, turns off the darkening component of optical vignetting while keeping other vignette behavior (if any). Use when you want vignette shape or falloff without reduced brightness at the edges.
Aperture
Aspect Ratio
Controls the width-to-height ratio of the bokeh shape. Values above 1.0 stretch the bokeh horizontally (anamorphic-style); values below 1.0 compress it. Use 1.0 for circular or symmetric bokeh.
Type
Selects the aperture rendering method. Each type defines how samples are distributed and how the bokeh is shaped, affecting both visual style and render behavior.
-
Circular - Renders bokeh as a perfect circle. You can set the sample count to balance quality and render time. Best when you want classic, round bokeh with predictable convergence.
-
Circular (Progressive) - Continuously refines the circular bokeh without a fixed sample limit; rendering does not stop automatically. No extra controls are exposed and the render is stopped by the user when they've reached a quality they deem good enough. Use when you need maximum quality and can afford longer render times.
-
Polygonal - Uses a polygonal aperture shape for geometric bokeh. Exposes Quality (rings), Aperture (blades), Aperture Roundness, Aperture Rotation, and Shuffle Samples. Adjust these to design the polygonal bokeh; roundness and rotation fine-tune shape and orientation.
-
Linear - Renders bokeh as lines or streaks. Only the Angle control is provided to set the direction of the lines. Rendering runs continuously until you press stop; useful for streak-style or anamorphic looks.