Windows File Permissions
Game distribution platforms like Steam, EA Play/Origin, Ubisoft Connect, and GOG Galaxy often use “Program Files (x86)” directories, which can restrict other software like ReShade from accessing necessary files. ReShade needs both read and write permissions to work properly.
Identify the Game Directory
The game directory is usually indicated in the error message. However, if you need help finding it, refer to our guide on how to find your game directory.
Access the Properties of Your Game’s Root Folder
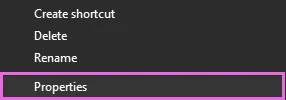
Right-click the game’s root folder (e.g., “FINAL FANTASY XIV – A Realm Reborn”), not the “game” folder. Then, click “Properties”.
Proceed to the Security Tab
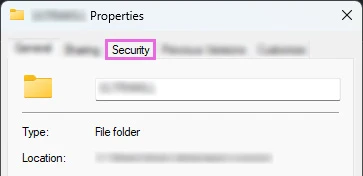
In the “Folder Properties” window, select the “Security” tab.
Select “Advanced”
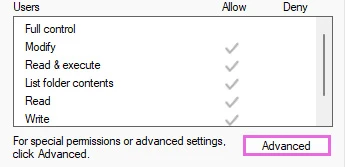
Click the “Advanced” button in the lower right corner of the “Security” tab.
Modify the Folder’s Ownership
In the “Advanced Security Settings” window, click the blue “Change” button next to the “Owner” field.

Update the Directory’s Owner
In the “Select User or Group” window, click “Object Types”, ensure only “Users” is checked, then click “OK”.

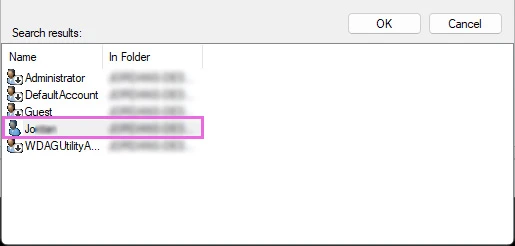
Click “Advanced”, then “Find Now”. Double-click your username to select it, then click “OK”.
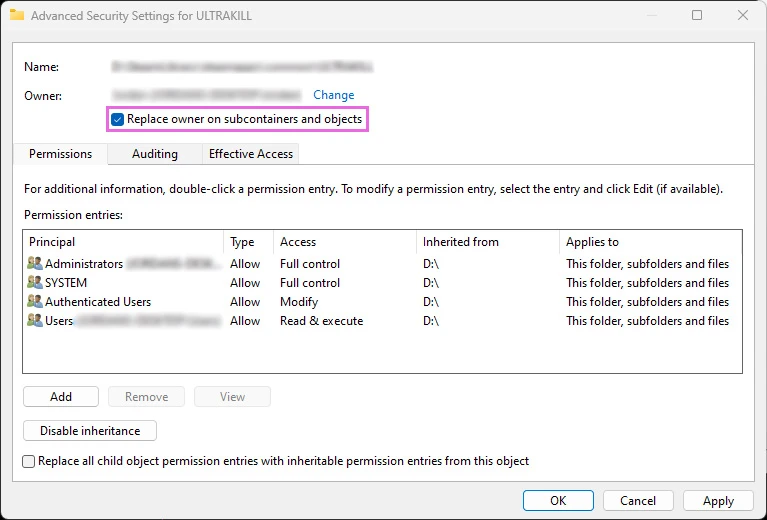
Enable “Replace owner on subcontainers and objects”
Ensure “Replace owner on subcontainers and objects” is checked, then click “Apply” and “OK”.
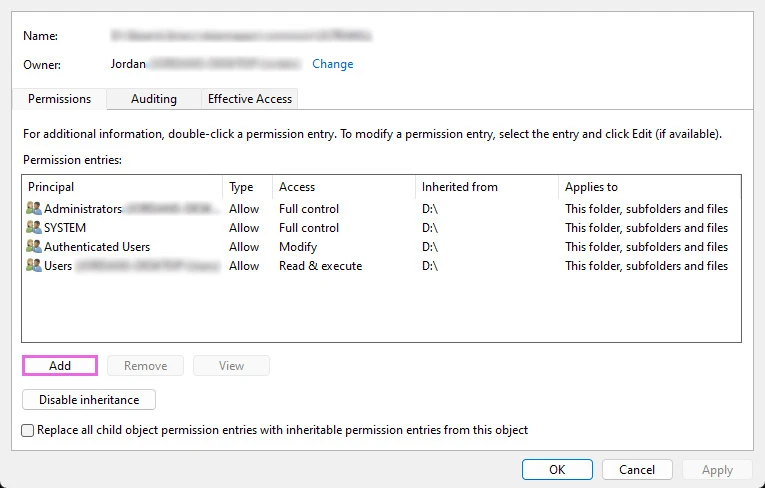
Grant “Full Control” Access to Your User
Click “Add” at the bottom right of the “Advanced Security Settings” window.
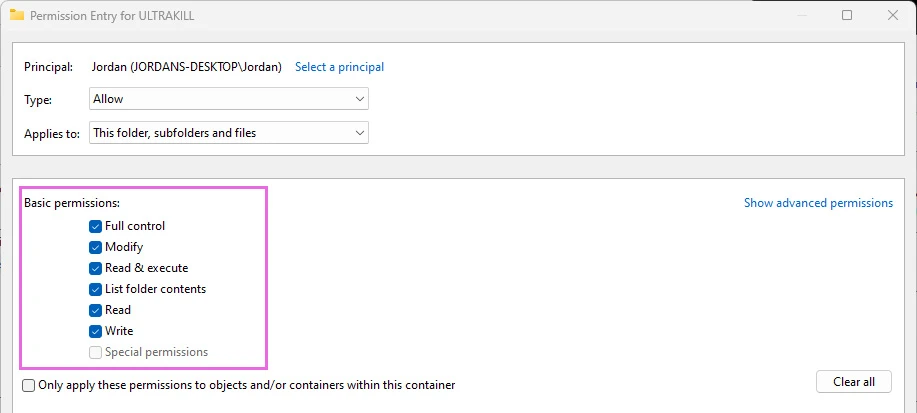
In the “Permissions Entry” window, click “Select a principal”, then “Advanced”, “Find Now”, and double-click your username.

Ensure “Full Control” is selected under “Basic Permissions”, then click “OK”.
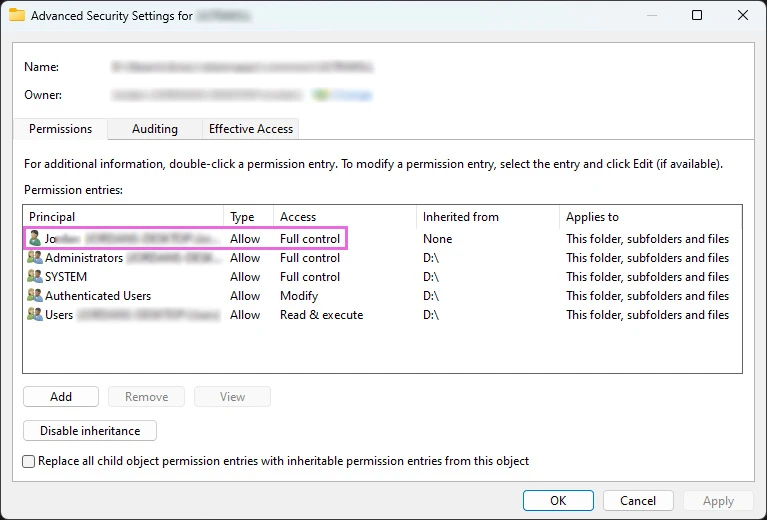
You should see your user listed with “Full Control” access. Click “OK” to finish.
Relaunch your game to verify that the permissions error is resolved.