ReShade GUI
Learning how to navigate through ReShade is key to being able to utilize it effectively, and being able to create what you desire. With that in mind, this guide will walk you through all the basics of what ReShade has to offer in it’s UI.
Home Tab
The “Home” tab in ReShade houses several buttons and menus that you can interact with in order to change the way your game looks, as well as configure specific shaders. As this tab is one of the most crucial tabs in ReShade for the end user, it can be a bit intricate, but everything you need to learn what ReShade has to offer in it’s GUI will be here.
Preset Selection Bar
At the top of the ReShade “Home” menu will be preset selection section bar:

This bar allows the user to select, create, save manually, or configure their preset to auto save once changes are made. By default, ReShade saves presets in the game directory, in a file called ReShadePreset.ini.
Shader List
The area below the preset selection bar is ReShade’s shader list:
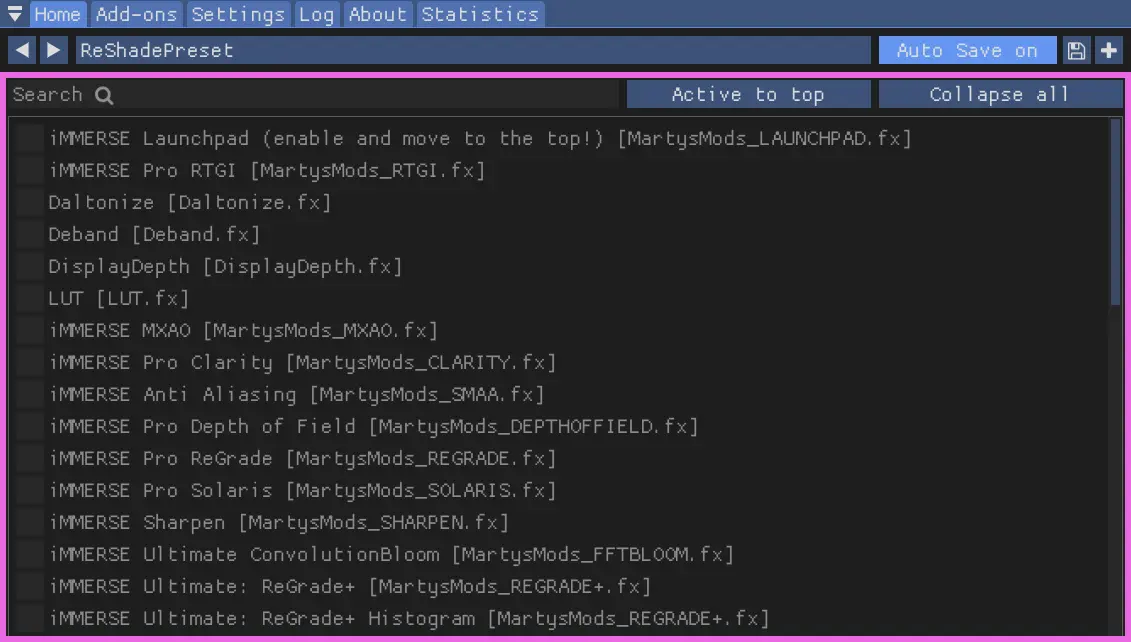
This list will provide the user with all of the shaders that is installed for ReShade. If a shader is disabled, there will be a blank square to the left of the shader, and if it’s enabled, there will be a check to the left of the shader.
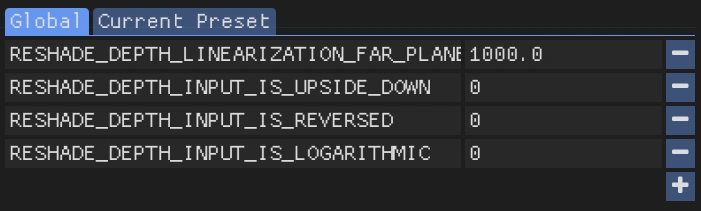
Edit Pre-processor Definitions
Below the shader list will be the “Edit Global Preprocessor Definitions.”
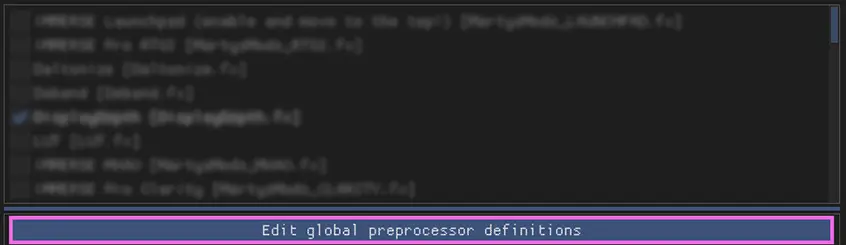
This button allows you to control aspects of shaders and depth before they are loaded by ReShade. When clicking the “Edit globlal preprocessor definitions” you will be greeted with a tab that allows you to change definitions for the preprocessor:
Shader Parameters
The area below the shader list and edit pre-processor definitions button is the shader parameter list;
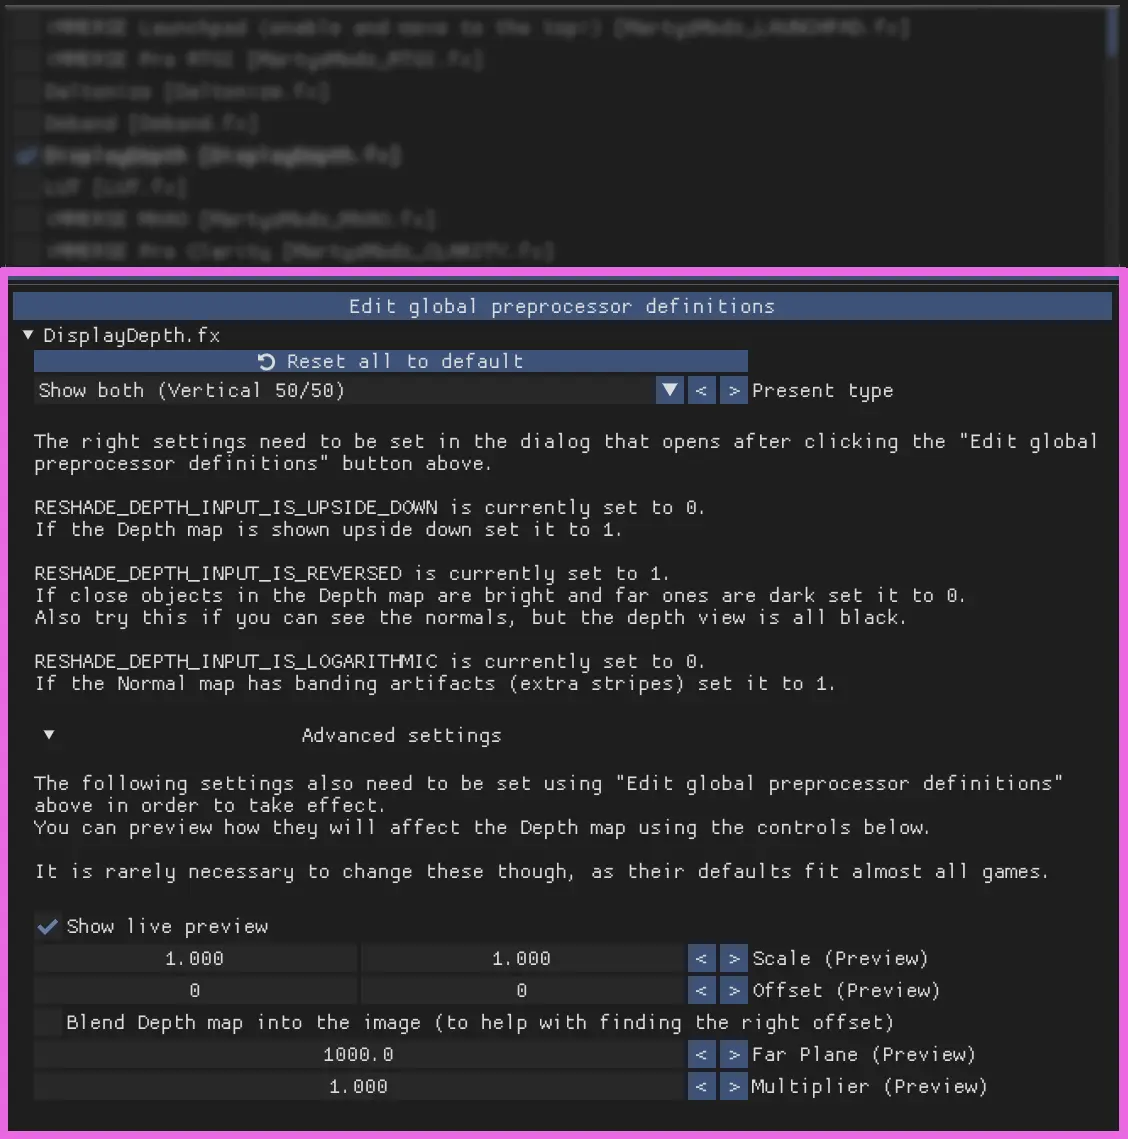
When you turn on a shader in ReShade, you will be able to see it’s exposed parameters to the user here. Any changes to these parameters happen in realtime. So, any changes you make show up right away, letting you see the effect of your changes instantly.
Add-ons Tab
The “Add-ons” Tab is for managing ReShade Add-ons:
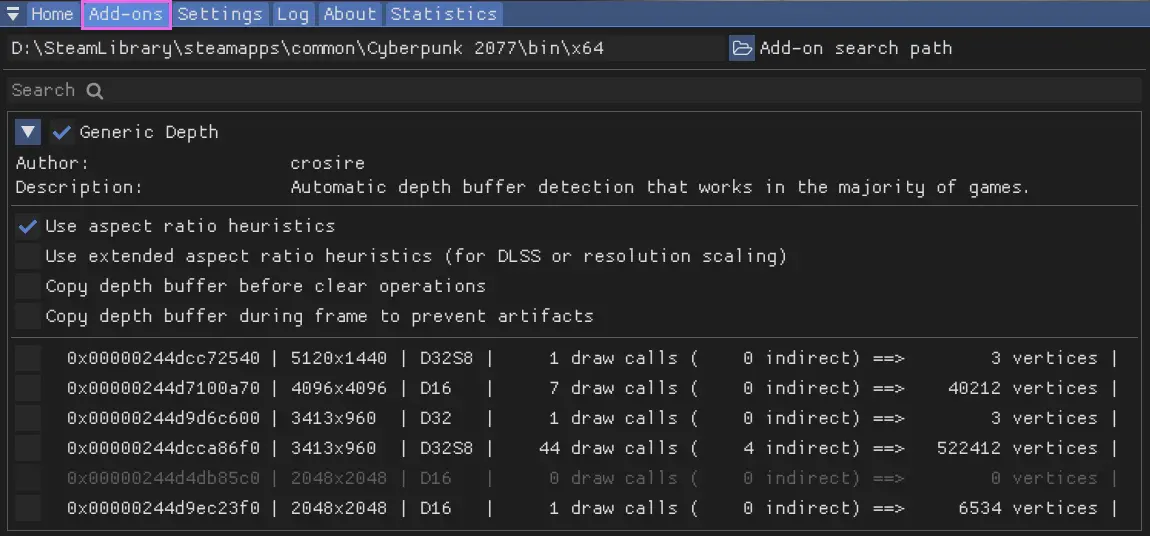
Each Add-on adds extra features or improvements to your ReShade shaders. They can offer new effects or tools for tweaking existing ones. “Generic Depth” comes with every install of ReShade, but you can add many more during the install process.
Settings Tab
The “Settings” tab lets you tweak ReShade settings like shader directories, menu access keys, FPS meter configurations, theme settings:
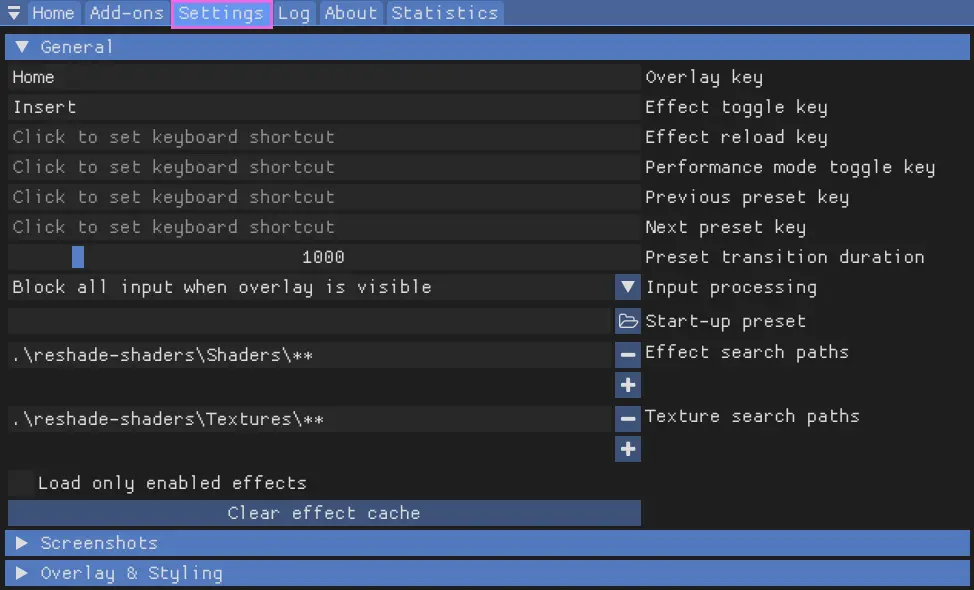
The dropdowns below detail commonly used options that you can adjust within the “Settings” tab:
General Menu
Keybindings:
- Overlay key
- Effect toggle key
- Effect reload key
- Performance mode toggle key
- Previous preset key
- Next preset key
Input processing:
- This setting lets users change the default behavior of ReShade’s input control:
- Pass on all input - Allows your game to also receive inputs from your keyboard and mouse, regardless of where they are on the game window.
- Block input when cursor is on overlay - Allows the game to receive inputs from your keyboard and mouse only when they are off of the ReShade UI.
- Block all input when overlay is visible (default option) - Disallows the game to receive all inputs from your keyboard and mouse when the ReShade overlay is active.
Start-up preset:
- This setting allows ReShade to utilize a preset to use once your game has started. By default, ReShade loads the last used preset from the user. You can change this behavior by defining a preset file path.
Effect and Texture search paths:
- These settings allow you to specify where ReShade should look for shader files. You can add multiple directories, and ReShade will search all of them when looking for shaders.
- Effect search paths -
.\ReShade-Shaders\Shaders\** - Texture search paths -
.\ReShade-Shaders\Textures\**
- Effect search paths -
Load only enabled effects:
- This option ensures that only the shaders enabled in your current ReShade preset are loaded. It can prevent issues with conflicting files/techniques from other shaders and reduce the compile time needed at the start of ReShade.
Screenshots Menu
- Screenshot key
Screenshot path:
- This option sets the location where ReShade saves screenshots. By default, it’s set to
.\, meaning ReShade will save screenshots in the directory where the ReShade binary.dllfile is located.
Screenshot name:
- This advanced option lets you specify the naming convention for screenshots. It uses macros to include real-time data in the screenshot name. The available macros are:
- %AppName% - Current application name.
- %PresetName% - Name of the applied preset at the moment of the screenshot.
- %Date% - Current date (in ‘%s’ or seconds format).
- %DateYear%, %DateMonth%, %DateDay% - Year, month, and day components of the current date.
- %Time% - Current time (in ‘%s’ or seconds format).
- %TimeHour%, %TimeMinute%, %TimeSecond%, %TimeMS% - Hour, minute, second, and millisecond components of the current time.
- %Count% - Number of screenshots taken in the current session.
Screenshot format:
- This option lets you change the file extension and compression processing for your screenshots. The available formats are:
- Bitmap (*.bmp) - Choose this for a lossless file that’s easy to edit but takes up more space. This format isn’t ideal for online sharing. If selected, you can enable “Clear alpha channel” to remove the image’s transparency layer if shaders support creating alpha channels.
- Portable Network Graphics (*.png) - Choose this for a lossy file that’s almost identical to the original and good for online sharing. This is the default option in ReShade. If selected, you can enable “Clear alpha channel.”
- JPEG (*.jpeg) - Choose this for a compressed file that saves on storage and bandwidth but isn’t as close to the original. If selected, you can adjust the compression quality.
Save current preset file:
- This option lets you save the preset used when the screenshot is taken.
Save before and after images:
- This option lets you take two screenshots of the same frame: one without ReShade and one with ReShade.
Overlay & Styling
Show screenshot message:
- This toggle enables or disables the screenshot notification message.
Group effect files with tabs instead of a tree:
- This toggle lets you choose between a tree structure or a grouped structure for shader configuration settings. While a grouped structure can be more organized, the choice is purely preference-based. By default, this option is off, and the tree structure is used.
Statistics Tab
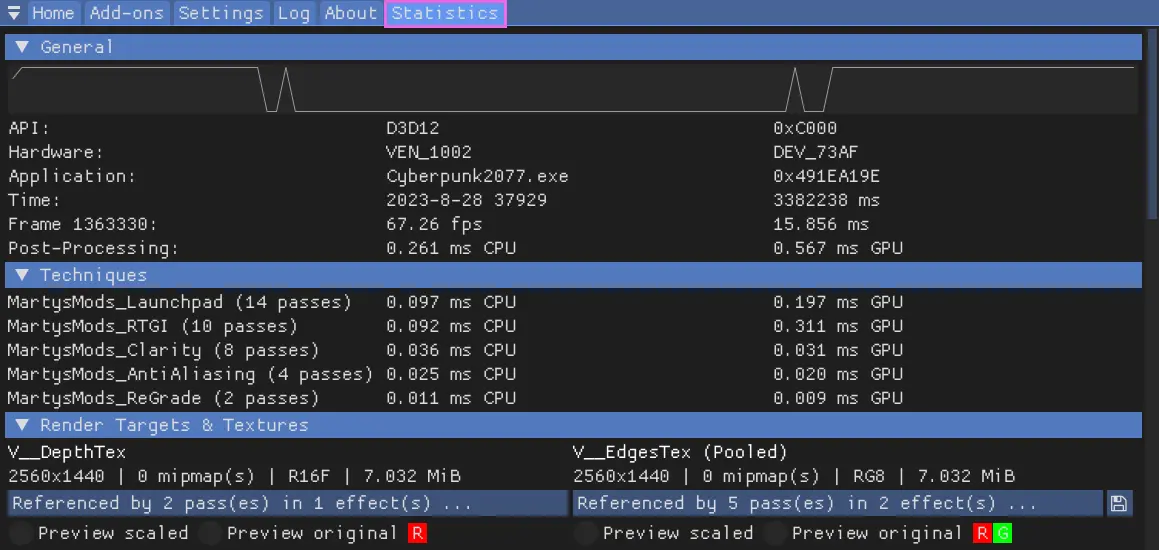
The “Statistics” Tab, shown in the image, is a great tool for tracking and improving ReShade’s performance. It gives detailed info on various aspects of ReShade’s operation. All of the data provided for it is invaluable to those developing shaders, and those attempting to help troubleshoot other’s issues.
Log Tab
The “Log” Tab is a key tool for monitoring ReShade’s operations and troubleshooting issues. It provides a detailed log of ReShade’s activities to help you identify where your issues are. If something seems wrong, it’s recommended to share the error text or the entire log file, which is stored in the game directory as ReShade.log. However, logs are reset each time the game is restarted. So, remember to share or save logs before restarting your game!
About Tab
The “About” Tab, as shown in the image above, acknowledges and recognizes the work behind ReShade as well as the current version that you are running!